
So, you got a used Mac and confirmed its working? May be like me – a Mac Mini late 2014 from the good old times when the hard drives were not soldered down on the motherboard yet (well, memory already is). A house full of Apple mobile devices and still Windows clients all around with no AirPrint-compatible printers. I tried for quite a while to get a Windows 3rd party AirPrint service running, but that always had issues with pdf crashing the service. I made the decision, that a small Mac to be used as a server could be a good step into that world before I replace all the remaining Windows systems. The device was delivered with a fusion drive built-in (128GB SSD acting as cache for the 1TB HDD). I upgraded the HDD to a 2.5in Samsung QVO 870 8TB SSD and therefor I had to reinstall macOS from scratch. Your reason may be as simple as selling yours or just wanting to have plain vanilla OS to re-use it. Official Apple documentation on that is quite okay, but it will take a while to gather the different steps needed while jumping from one article to another – for reference here’s the official starting point. Just in case you need to create bootable installation media – this is the article you’ll want to read.
But before we reinstall macOS we should make sure that we are already on the latest version, else it would just reinstall the last installed version. At the time writing that article that means macOS Monterey – so head to the Apple Store on the device, get macOS Monterey and install that first. When this has been done, we can start with the OS reinstallation. Starting state is the powered-down Mac. For the older Intel-based Mac You need to press and hold down Command+R immediately after switching on the system until the menu appears. On the newer Apple Silicon based (M1) You just need to press and hold the power button. By the way, for these recovery things I would always use a wired keyboard as I can never be sure that the wireless versions will work there. If You are using a Windows keyboard, replace the Command key with either Control (Ctrl) or Windows-Key – for me, the Windows+R combination worked just fine.
Cleaning the disks
CAUTION: This part is dangerous, especially if You have not backed up all of your data from your Mac.
You may loose everything here!
Now we end up in the recovery menu with the menu bar on top and the following options to choose from in the center of the screen. I am using a network cable for internet access here, but WiFi should work as well. As we want to get the hard disks ready first, we’ll go for ‚Disk Utility‘.

The Disk Utility will at start always show You the partitions (logical parts the disk has been split up to). As You can see there, my SSD was already in use before and shows as ‚data‘. Surprisingly, it also showed the macOS volume although the old main disk has been removed already. Maybe some caching remnants on the SSD portion of the fusion drive. Does not matter, we’ll kill anything anyway before we reinstall macOS. To do so, select the volumes on the left below the internal node and afterwards click on the small minus at the Volume button.

Repeat that until all volumes You do not want to keep have been removed. Now, You should also see the Container diskX entries on the left side below the harddisk model names. Next part is creating the partitions in the way we want them. That’s quite easy here – we’ll put the macOS on the small 128GB M.2 flash drive and data on the 4TB 2.5in SSD.
Note:
macOS is designed for a single internal harddrive. I highly recommend to upgrade to the largest internal SSD size that makes sense for the mac Mini late 2014 – I did afterwards by buying an OWC 2TB. You cannot beat the speed of an officially supported SSD. Even with force-enabling SSD trim, the SATA SSD will never get even close to the speed of the officially supported NVMe-based one, and it will also not be able to keep that speed for longer periods of consecutive writes. Ideally, if you want to be able to backup everything on iCloud Photos and iCloud Drive – all of that has to fit onto the primary disk drive next to the applications and some of the application data. iTunes Music/Podcasts and your own AppleTV library and most other application data can be moved or stored on the second internal drive by adjusting the settings of the applications. This is where the slower and larger 2.5in SSD is really good for and still delivering more than enough throughput. One warning: do not – well: never – try to put your user profile data onto the second drive – restoring this from TimeMachine will become a nightmare.
Select the proper container and click the Plus sign on the Volume button. I named the OS area macOS and the data area just data – both running APFS filesystem. As I am migrating from Windows I am going with the case-insensitive file system like I am used from Windows. MacOS being Linux/Unix-based can also handle case-sensitive file systems, which to me brings no real advantage but only a lot of pain from my bash memories. I skip on file system encryption as my Mac resides in the basement locked inside the 42U cabinet, for a notebook with proper backup I would have maybe chosen the encrypted file system.


I had to repeat this procedure for my data partition. When done, close the Disk Utility as usual by pressing the close icon top left of the window.

Reinstall macOS
Now we are going Reinstall macOS Monterey and I will skip the obvious ‘Continue and Agree’ screens as there is no value gained in showing these.

If you have multiple disks, make sure to pick the right one for the OS. In my case the M.2 disk with the smaller size was the right one. If they would have been of the same size, labelling with the Disk Utility upfront may help tremendously.

Now it’s time to do something else like getting a fresh cup of coffee – depending on the bandwidth of your internet link, this could take quite a while until You are presented the following screen.

If you want to give away or sell your device, stop here by pressing Command-Q and selecting shut down – this will keep the out-of-box-experience for the new owner. But if not, read on: As my device will be used as server, I ensured to select the proper region (that could influence a lot of things like used AppStore, DownloadServers etc.). I also modified language and input sources to my needs on the next screen by using the ‘Customize Settings’ button at the lower left.

Now on to the network connection. Although the image was downloaded via cable it proposed me the WiFi. You can work around that by selecting ‘Other Network Options‘ bottom left and ‚Local network (Ethernet)‘ afterwards.

I went for ‘Local network (Ethernet)’ here because that is my main connection to the internal network and I’ll use the WiFi adapter to connect to the guest network in a later post.

Next step is to sign in with your Apple ID to connect to the App Store and other Apple Services – that is straight forward. Hint: getting the @ using a Windows keyboard – try Win+L. When reaching the dialog asking to create the computer account, I was very surprised to not be able to log on with my AppleID here out of the box. So I just did what I am always doing for servers – creating a local admin account.
Please note the checkbox that allows your Apple ID to reset the password of this account – You’ll definitely want to have this checked as servers based on Linux/Unix require very little maintenance when set up properly and you might forget that password between reboots very easily. Just to be on the point – you can set up a Windows Server also to require very little maintenance, but that takes some years of experience to exactly know how to do this.

Skipping some screens again and I am just telling you that You may not need ScreenTime if you are using the device as server. As I was using a german Windows keyboard I had to identify my keyboard with the upcoming assistant when the desktop was displayed for the first time. Just take a look for your continent or norming institute there and you should be fine.
Checking SSD SATA Trim Support
I run into this by accident a bit later on when checking disk speeds with ATTO and by doing so, my 2.5in SATA SSD underperformed after having used it for a while. Digging a bit through the internet and the system, it seems that trim support has not been enabled during macOS installation. I can confirm now (2 years later), that on a subsequent reinstallation of macOS 12 on another device trim support was enabled properly. So, always accomplish the following check and, if required, apply the fix:
- about this Mac – system report – hardware- sata – check if your disks show ‘trim suppport = yes’
- if one of them shows ‘no’, open a terminal, run ‘sudo trimforce enable’ and enter your local admin account password
- reboot once directly afterwards
When trim runs for the first time, you might be nearly unable to use the mac due to the high load on the disk – so leave it alone. Depending on the size of the disk, this can take up to multiple hours. Afterwards, disk performance should be much better although it will not match the performance of the OEM disk.
Disabling PowerSave Mode
This step is not necessary to reinstall macOS, but because I am running the MacMini as a server, I wanted the device to be running and working 24×7, so disabling PowerSave is necessary. Open the System Preferences and select Energy Saver there. Remove the checkmark on ‘Prevent your Mac from automatically sleeping when the display is off’. Of course, we have to confirm that waste of energy. To make sure that the system would even boot up after a blackout we enable the ‚Start up automatically after a power failure option‘ in the same menu.


RemoteAccess using AnyDesk
Also not really necessary to reinstall macOS, but I had some special requirements. I already told You that this one will be running in the wiring cabinet, didn’t I? Guess what, I have a monitor there, but that one is usually connected to a Windows box, where I need it more often and it only has a VGA input. So, remote access is absolutely critical for me. Standard way for Apple is VNC, but that will only work inside the same network and not across NAT without opening the firewall. For security, that’s a No-Go here. I am using AnyDesk (similar to TeamViewer) since quite a while successfully on my Windows systems and it is available for MacOS as well. Getting it to run as a service without requiring any intervention after a system reboot is a different and quite complex story – AnyDesk’s Help Center did not deliver a simple guidance there as information is scattered throughout. Due to MacOS being quite strict on security, that will be a large slide show.
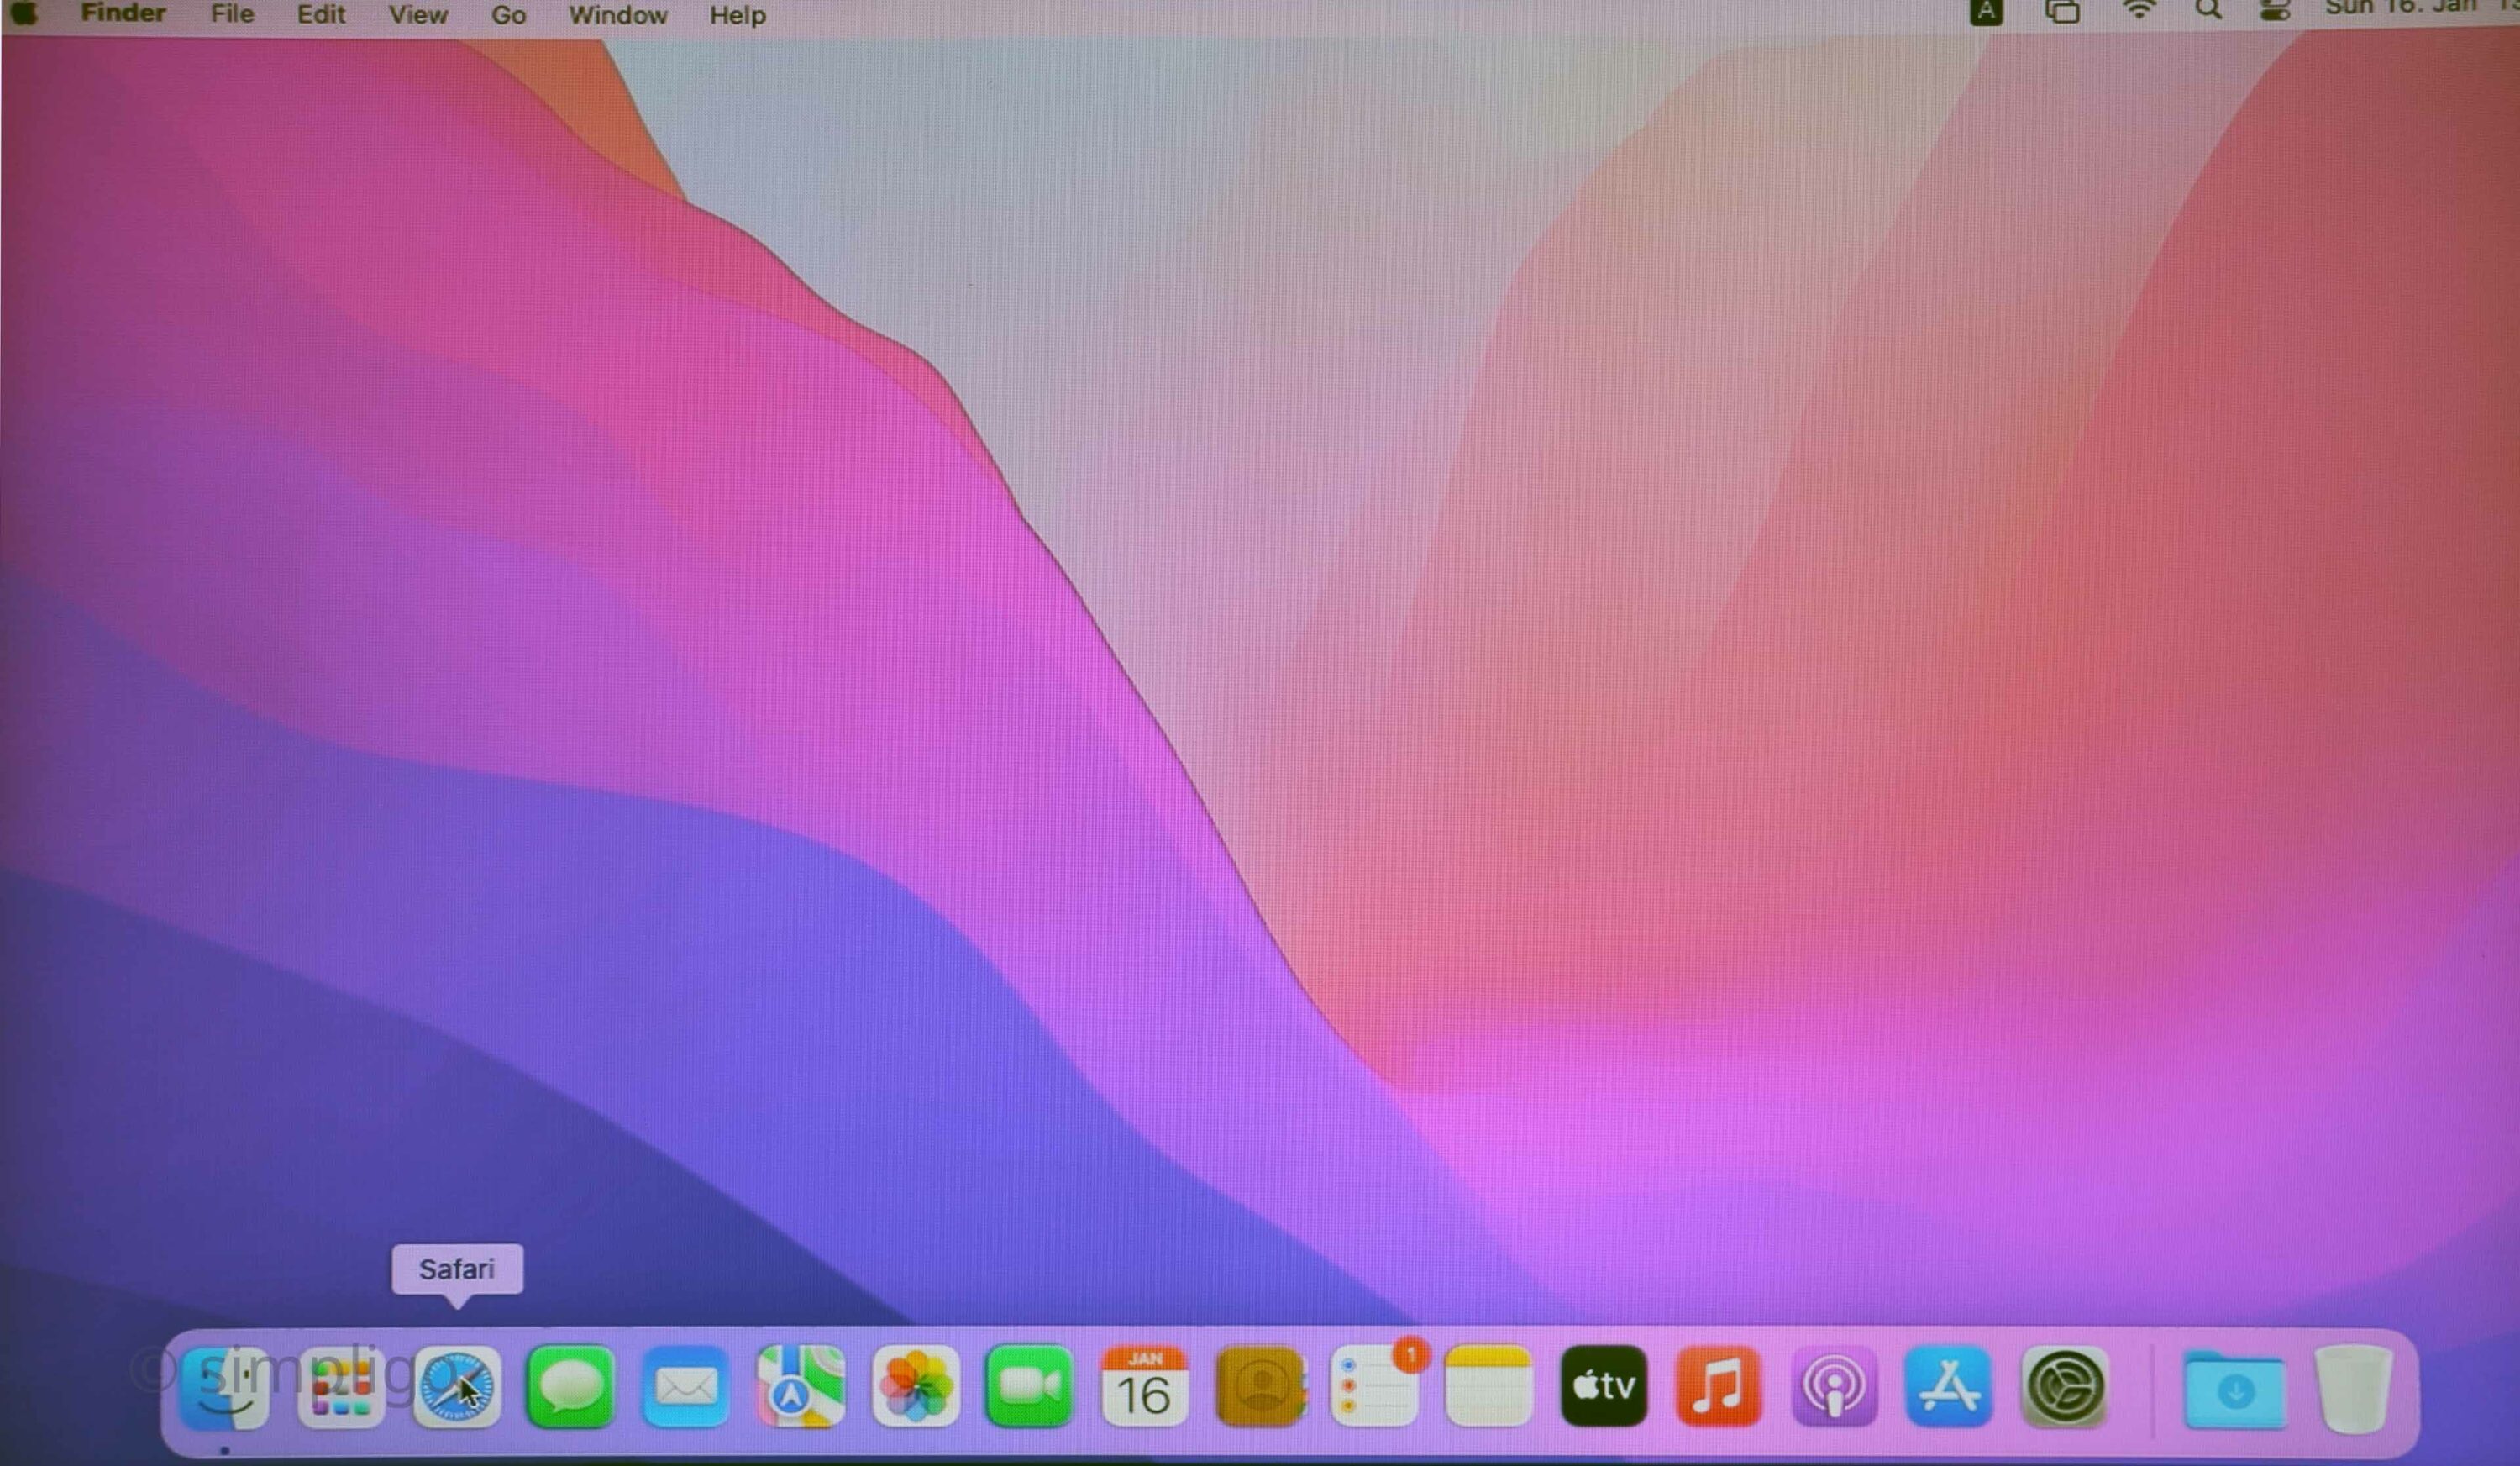
open the Safari browser 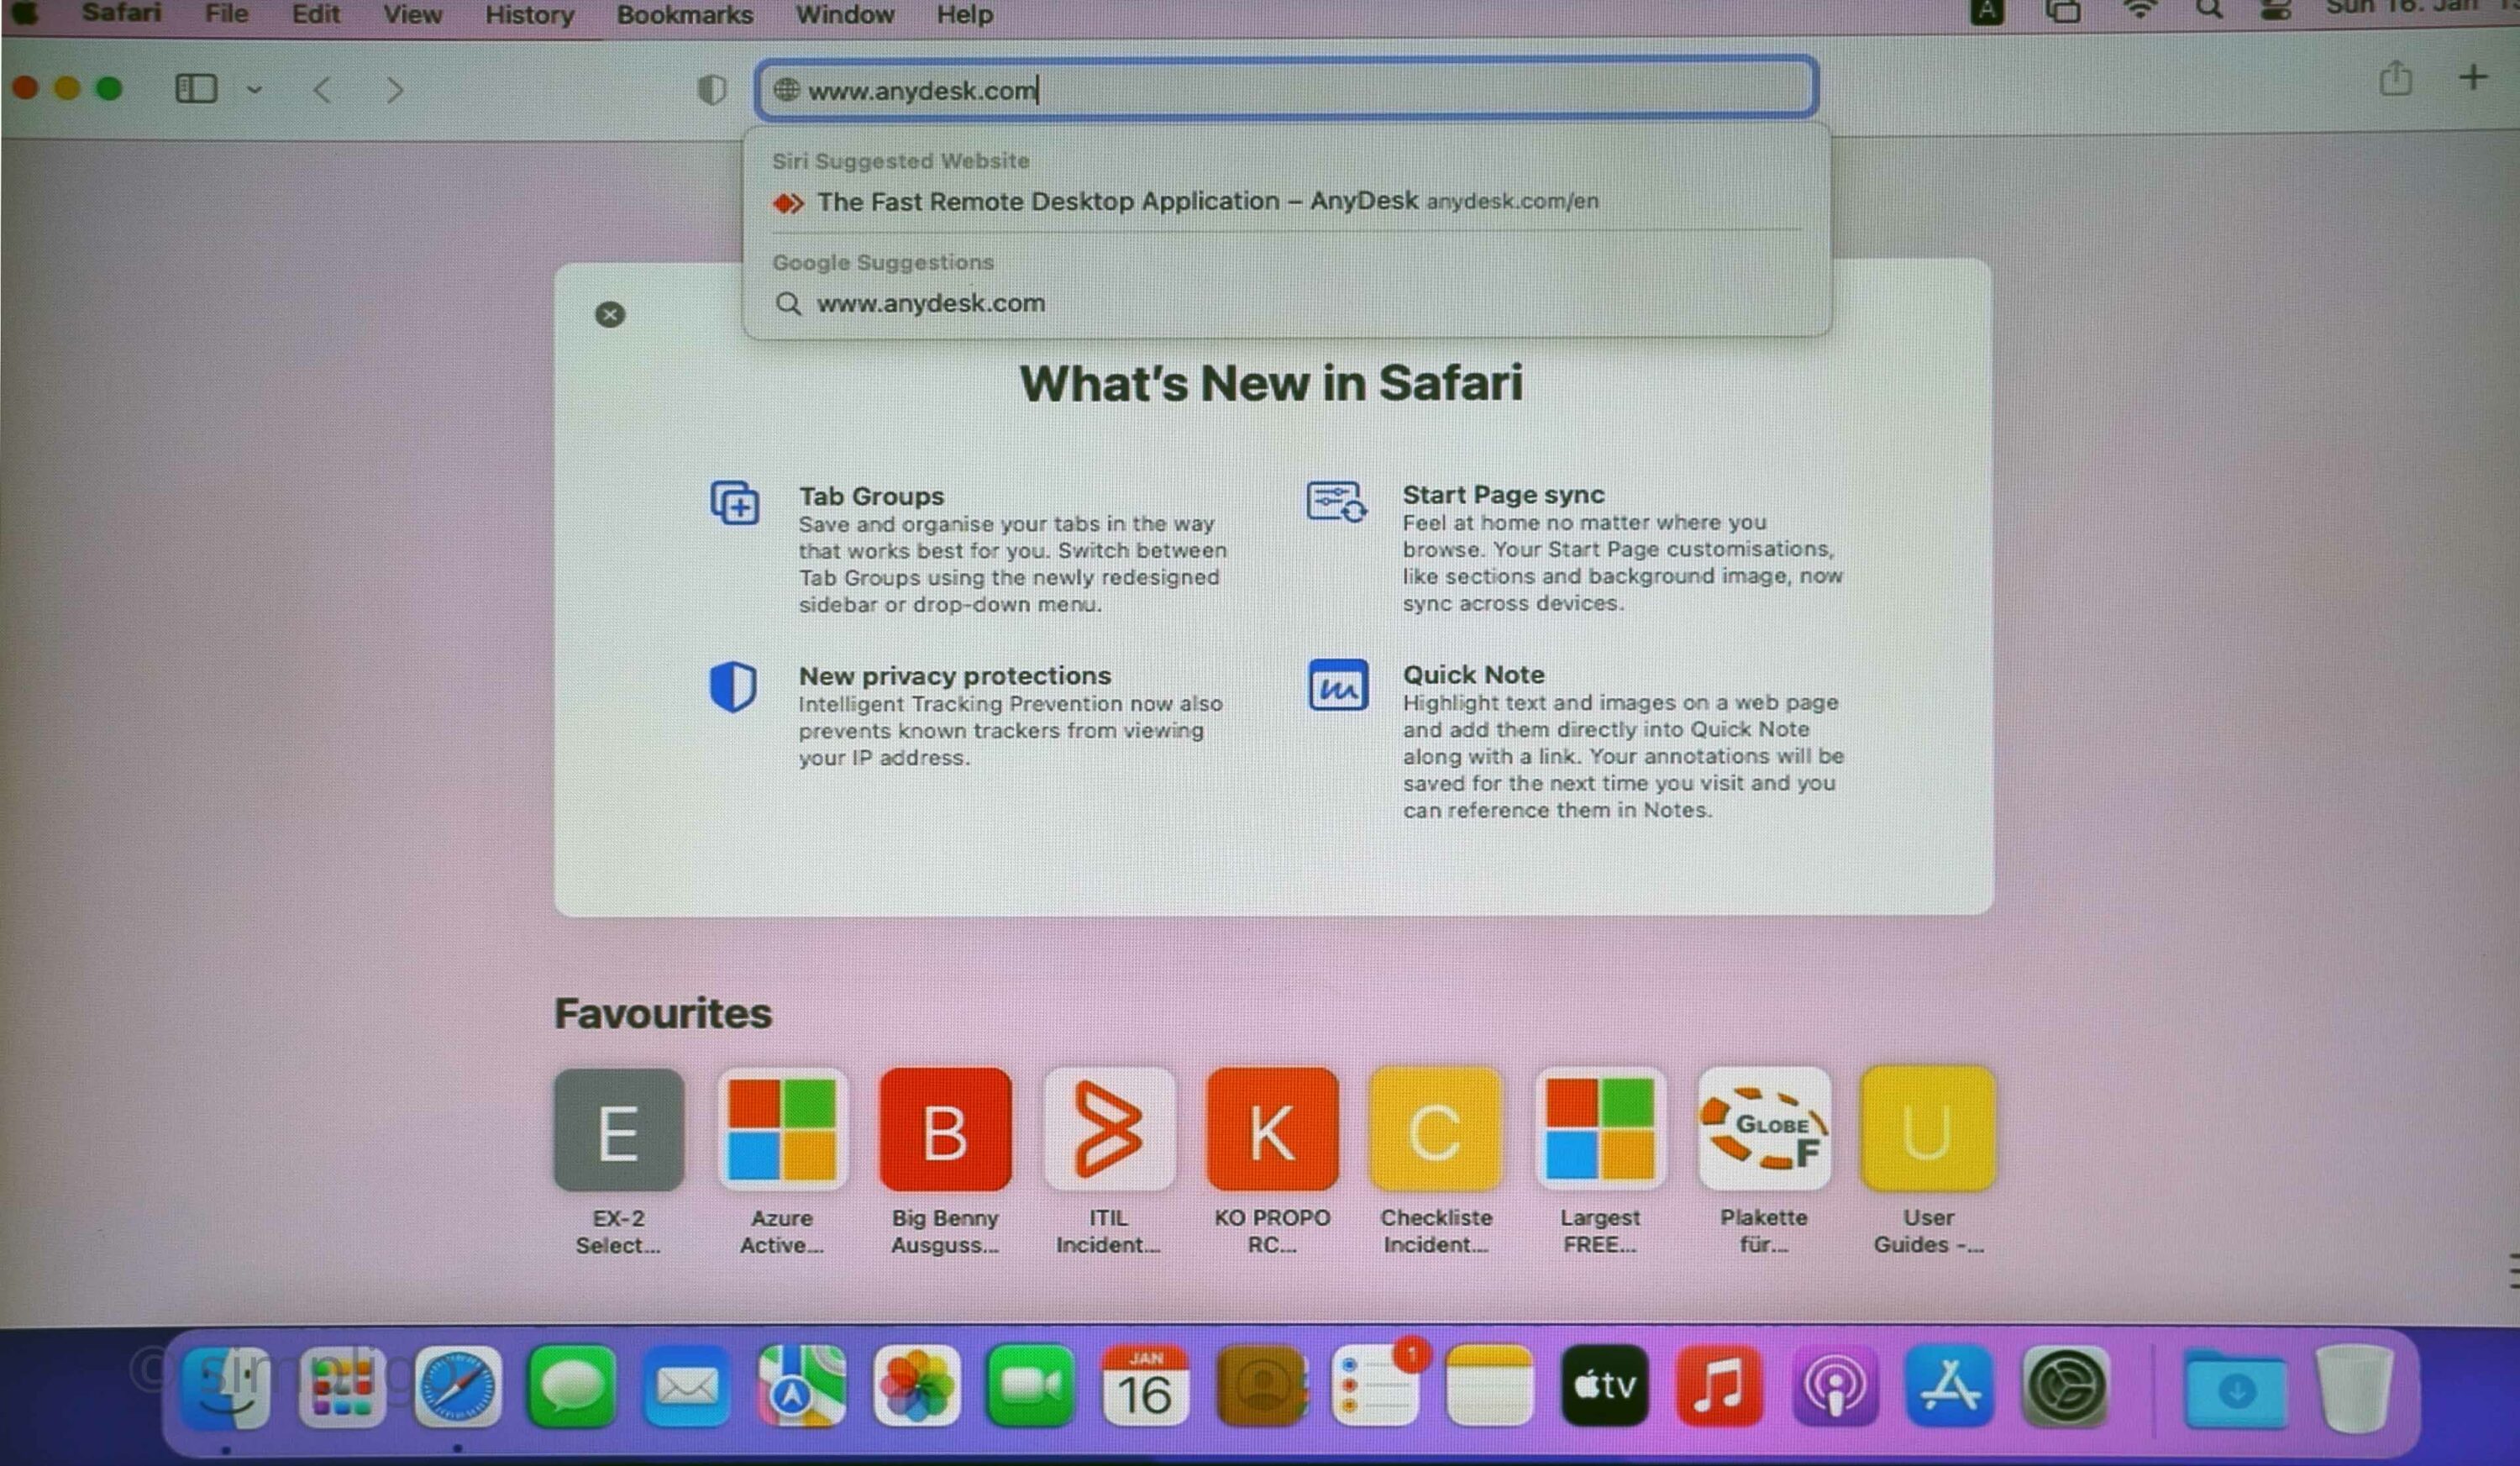
go to www.anydesk.com 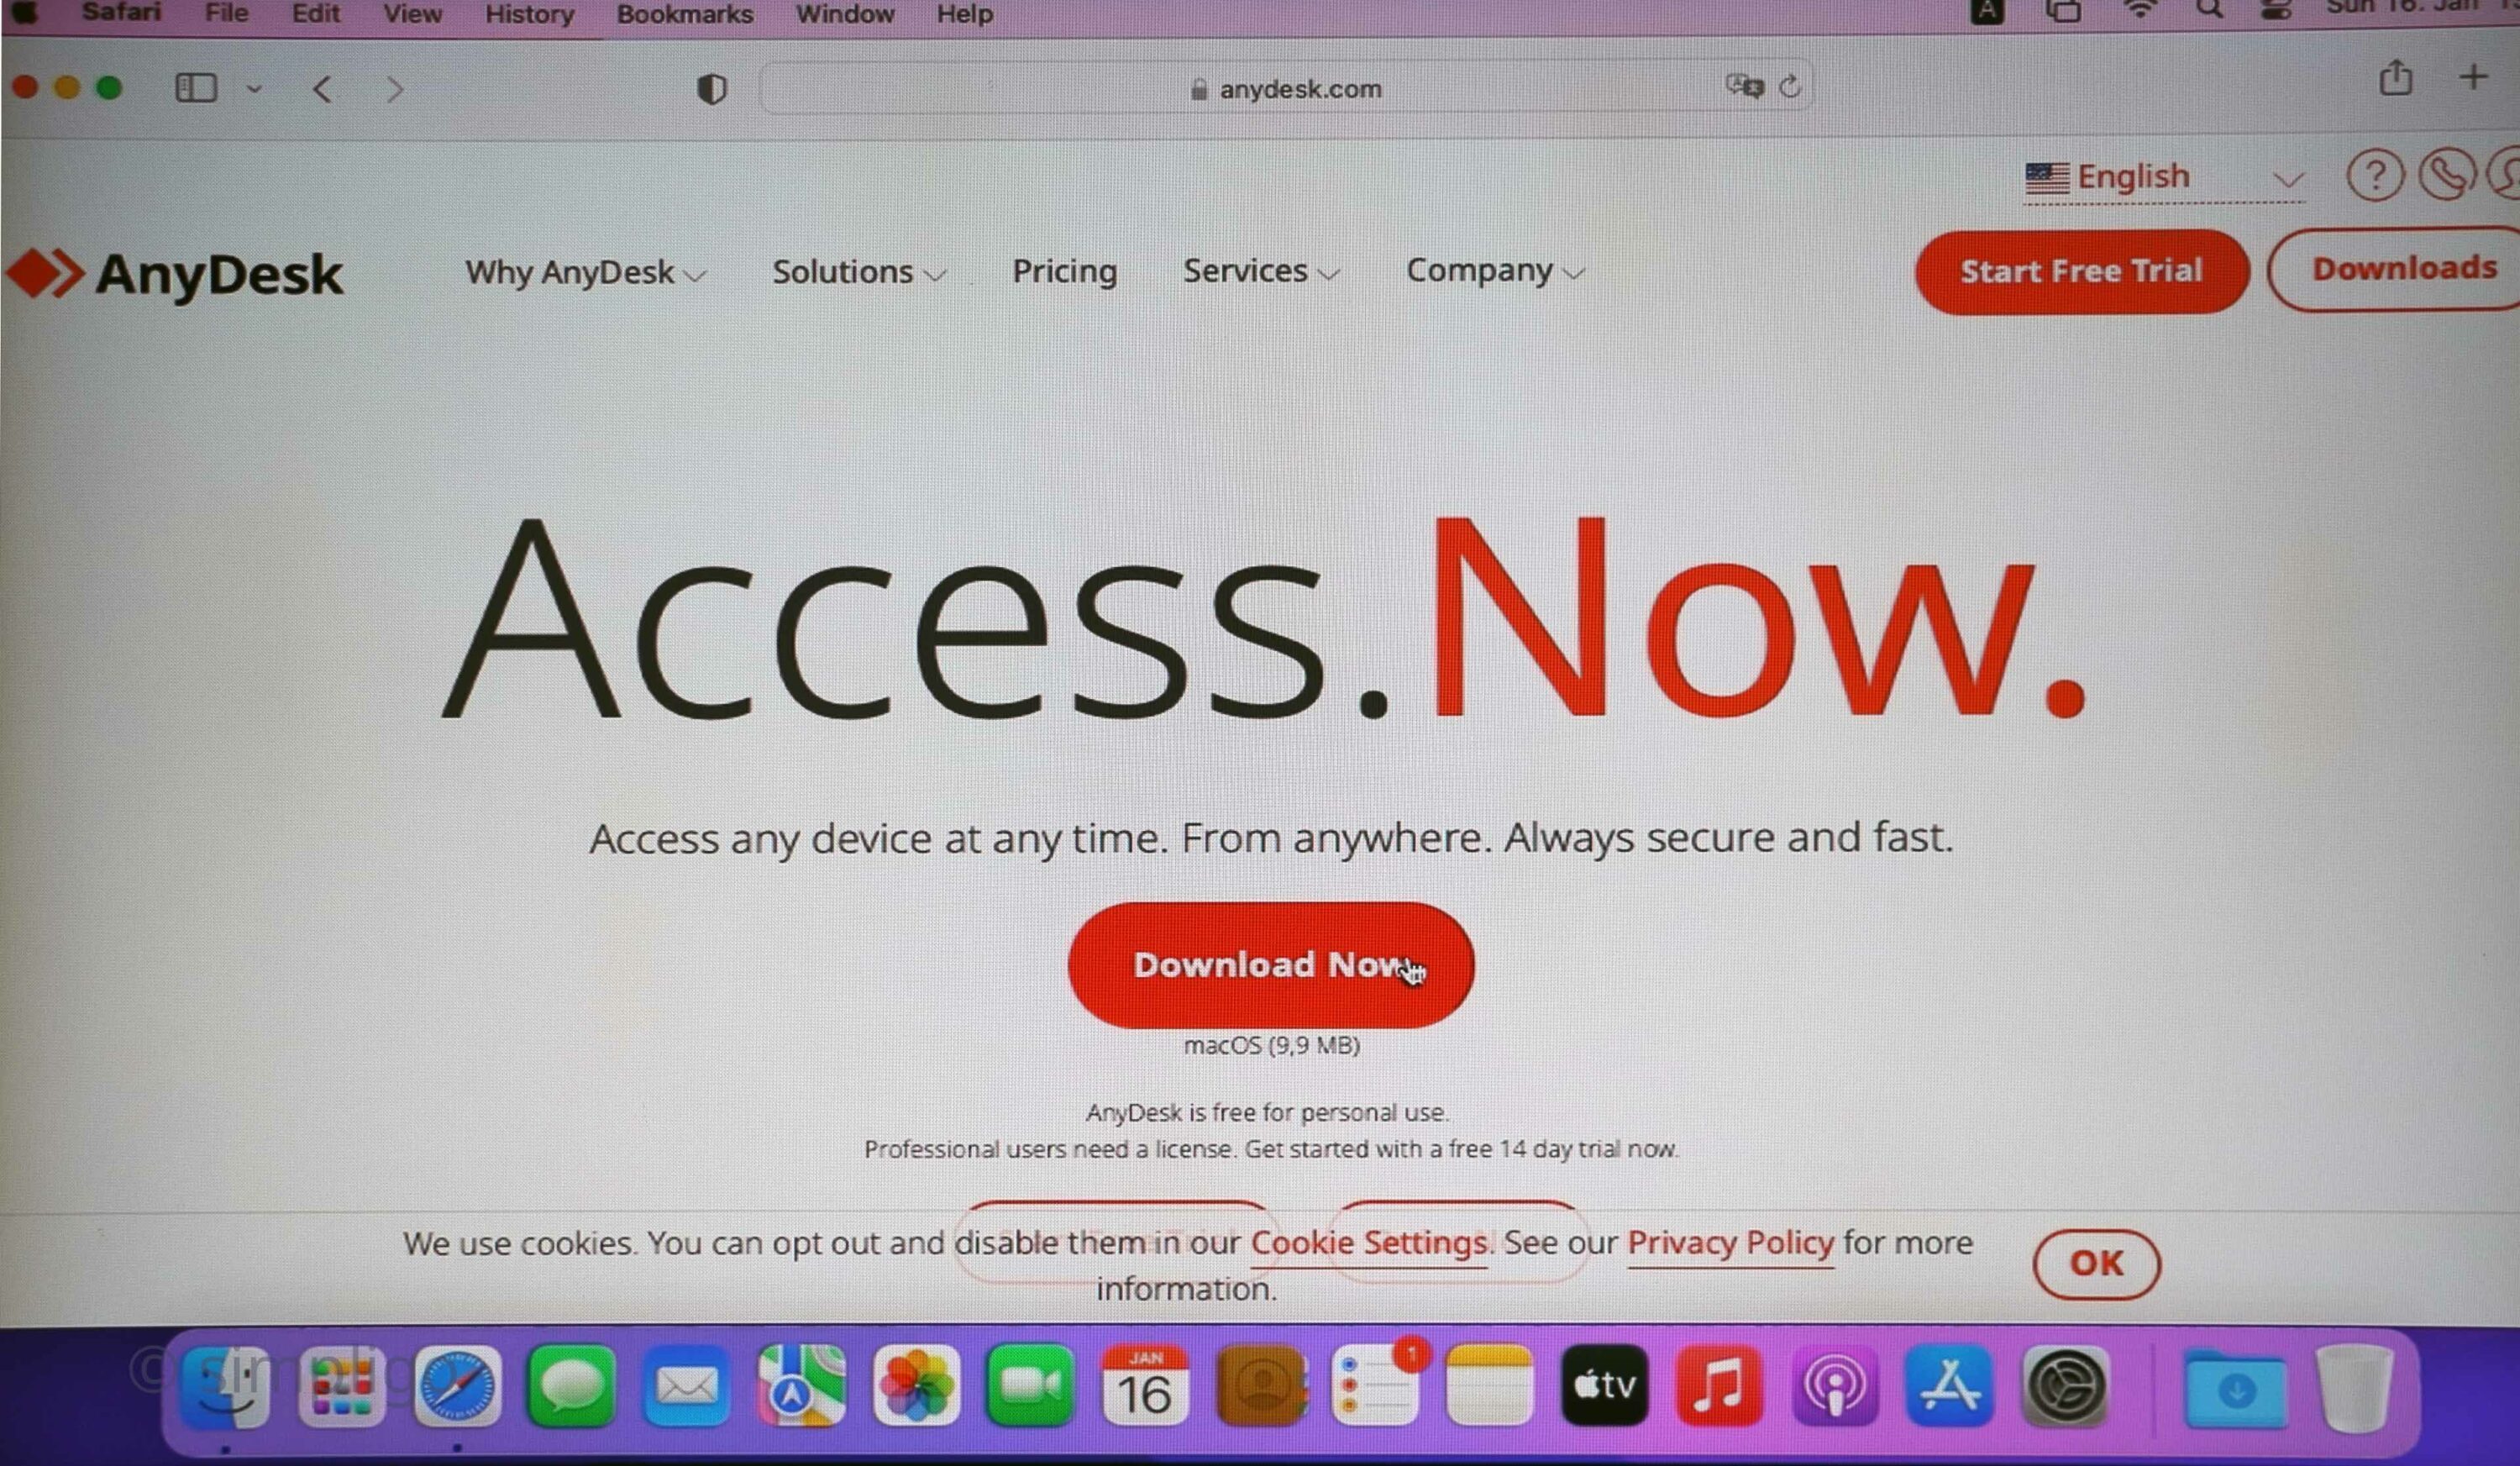
click on Download now 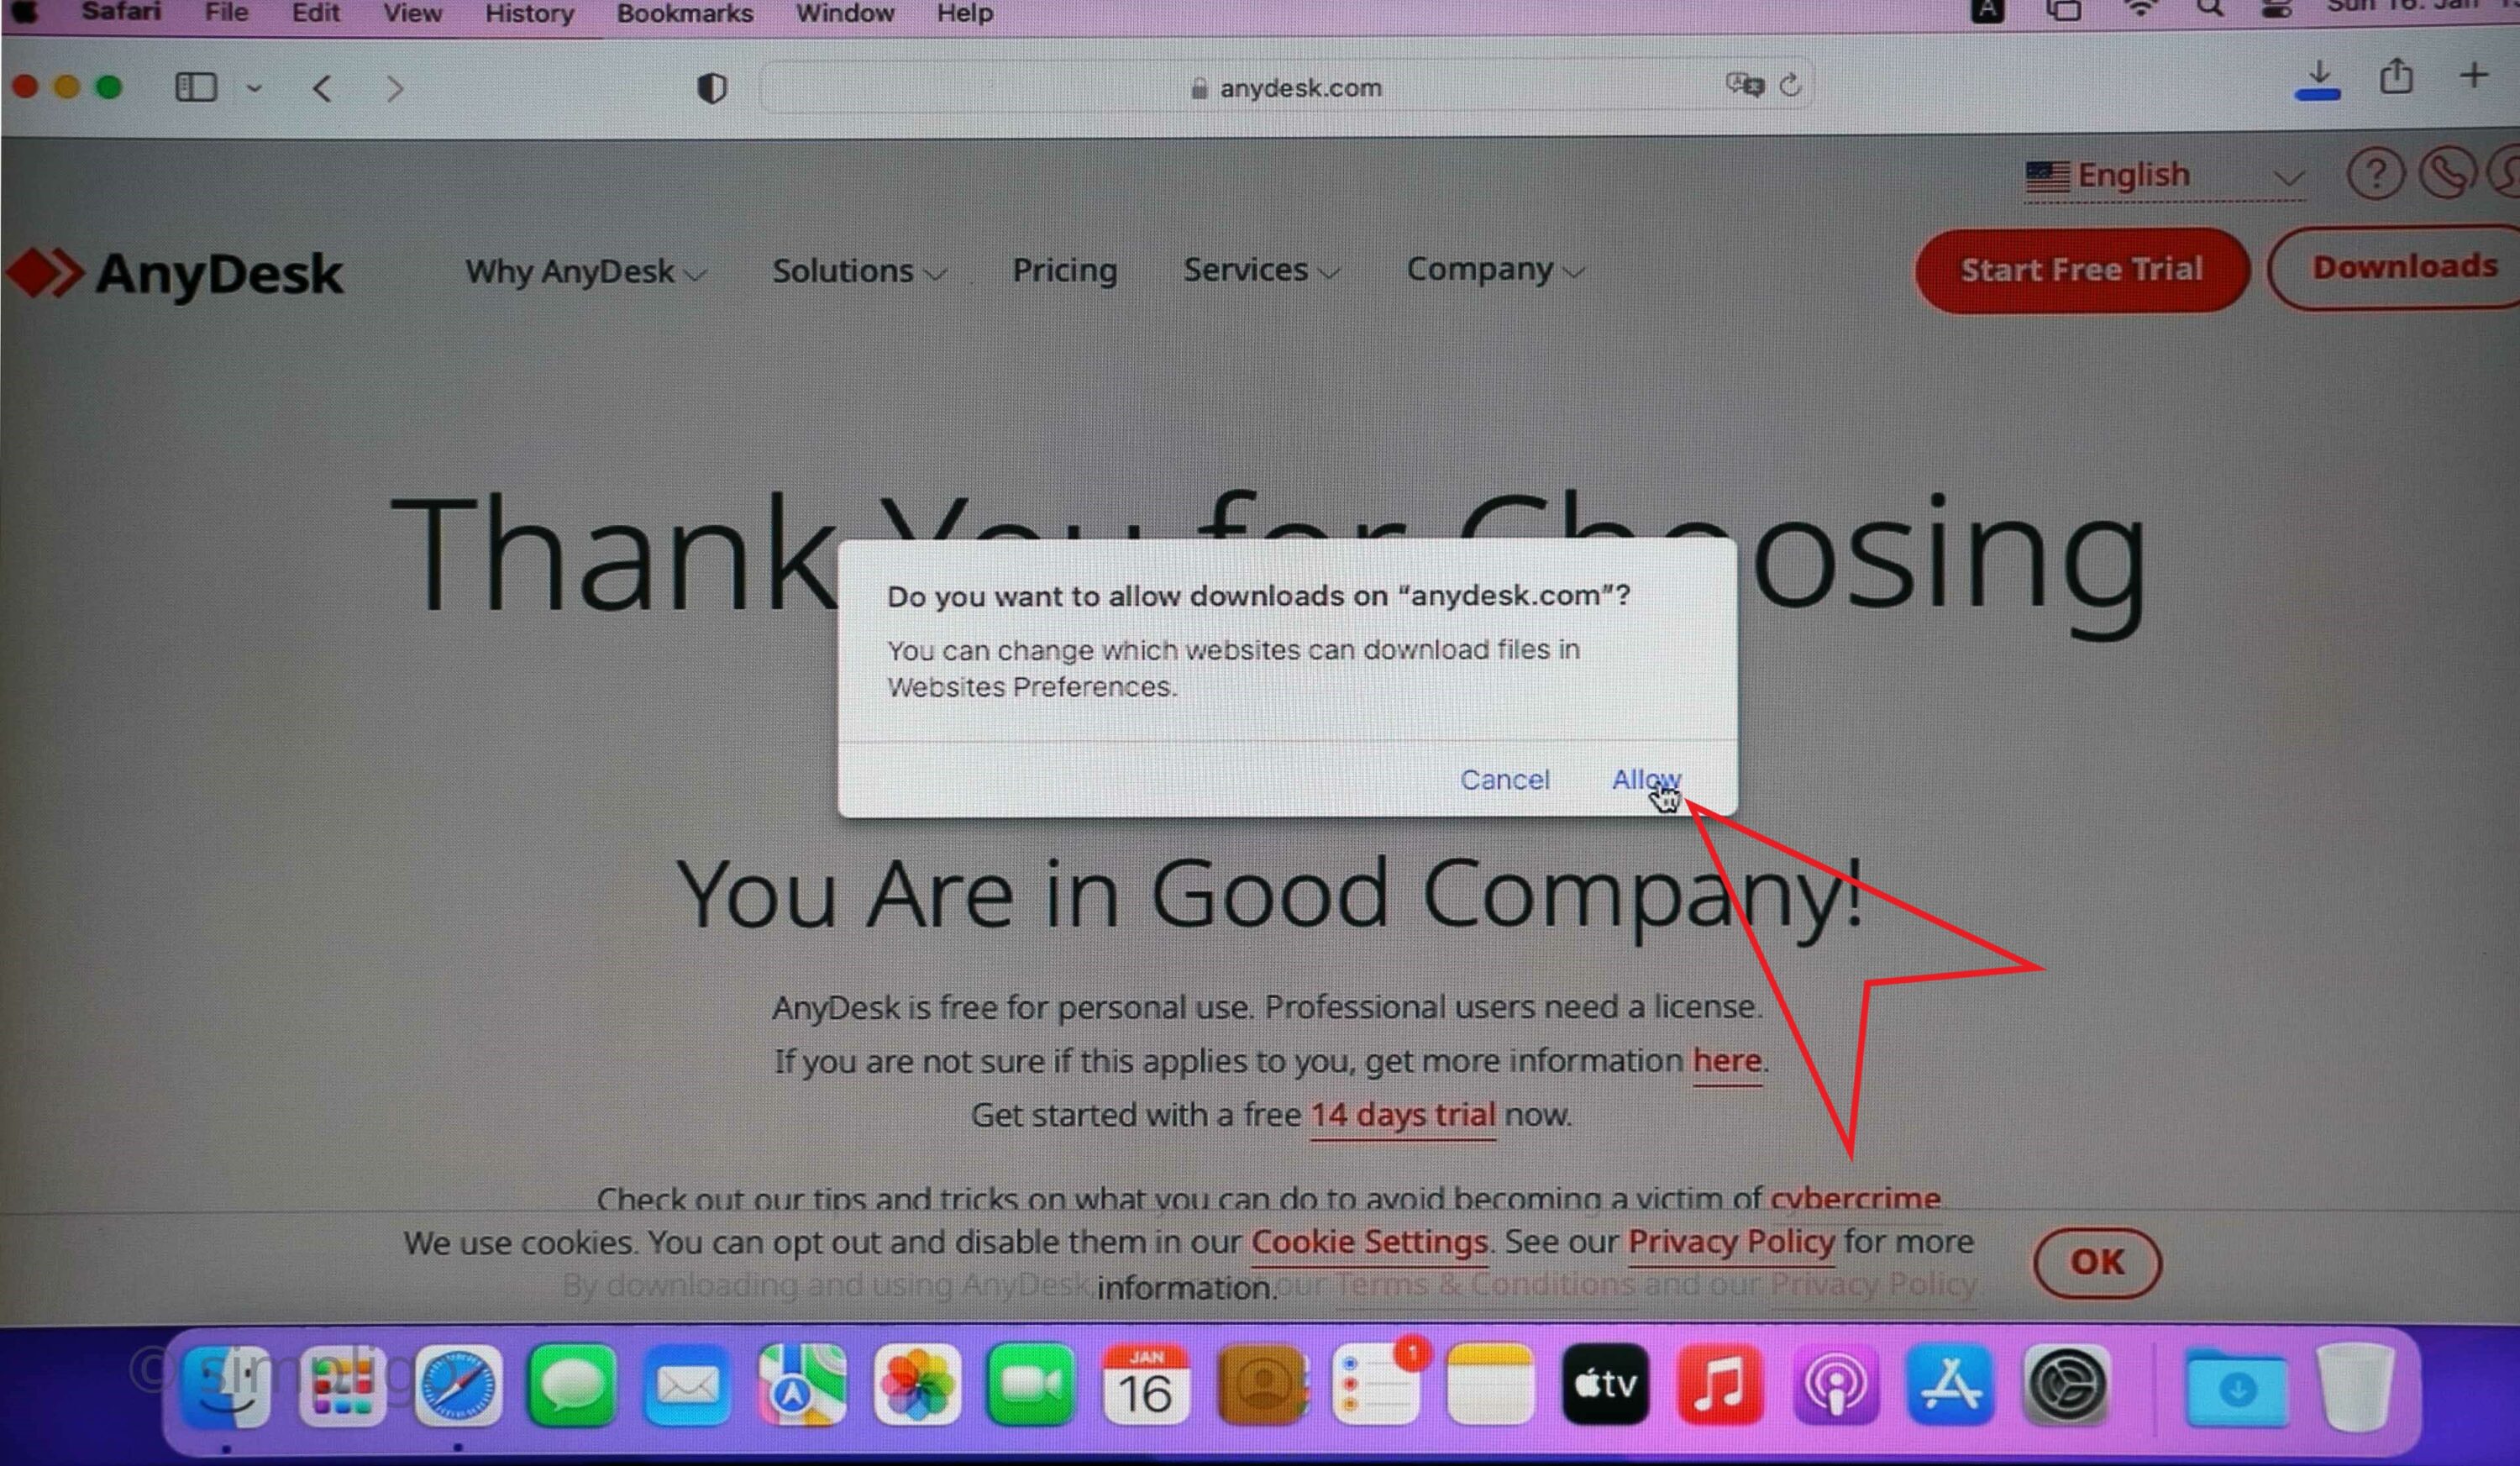
confirm the download 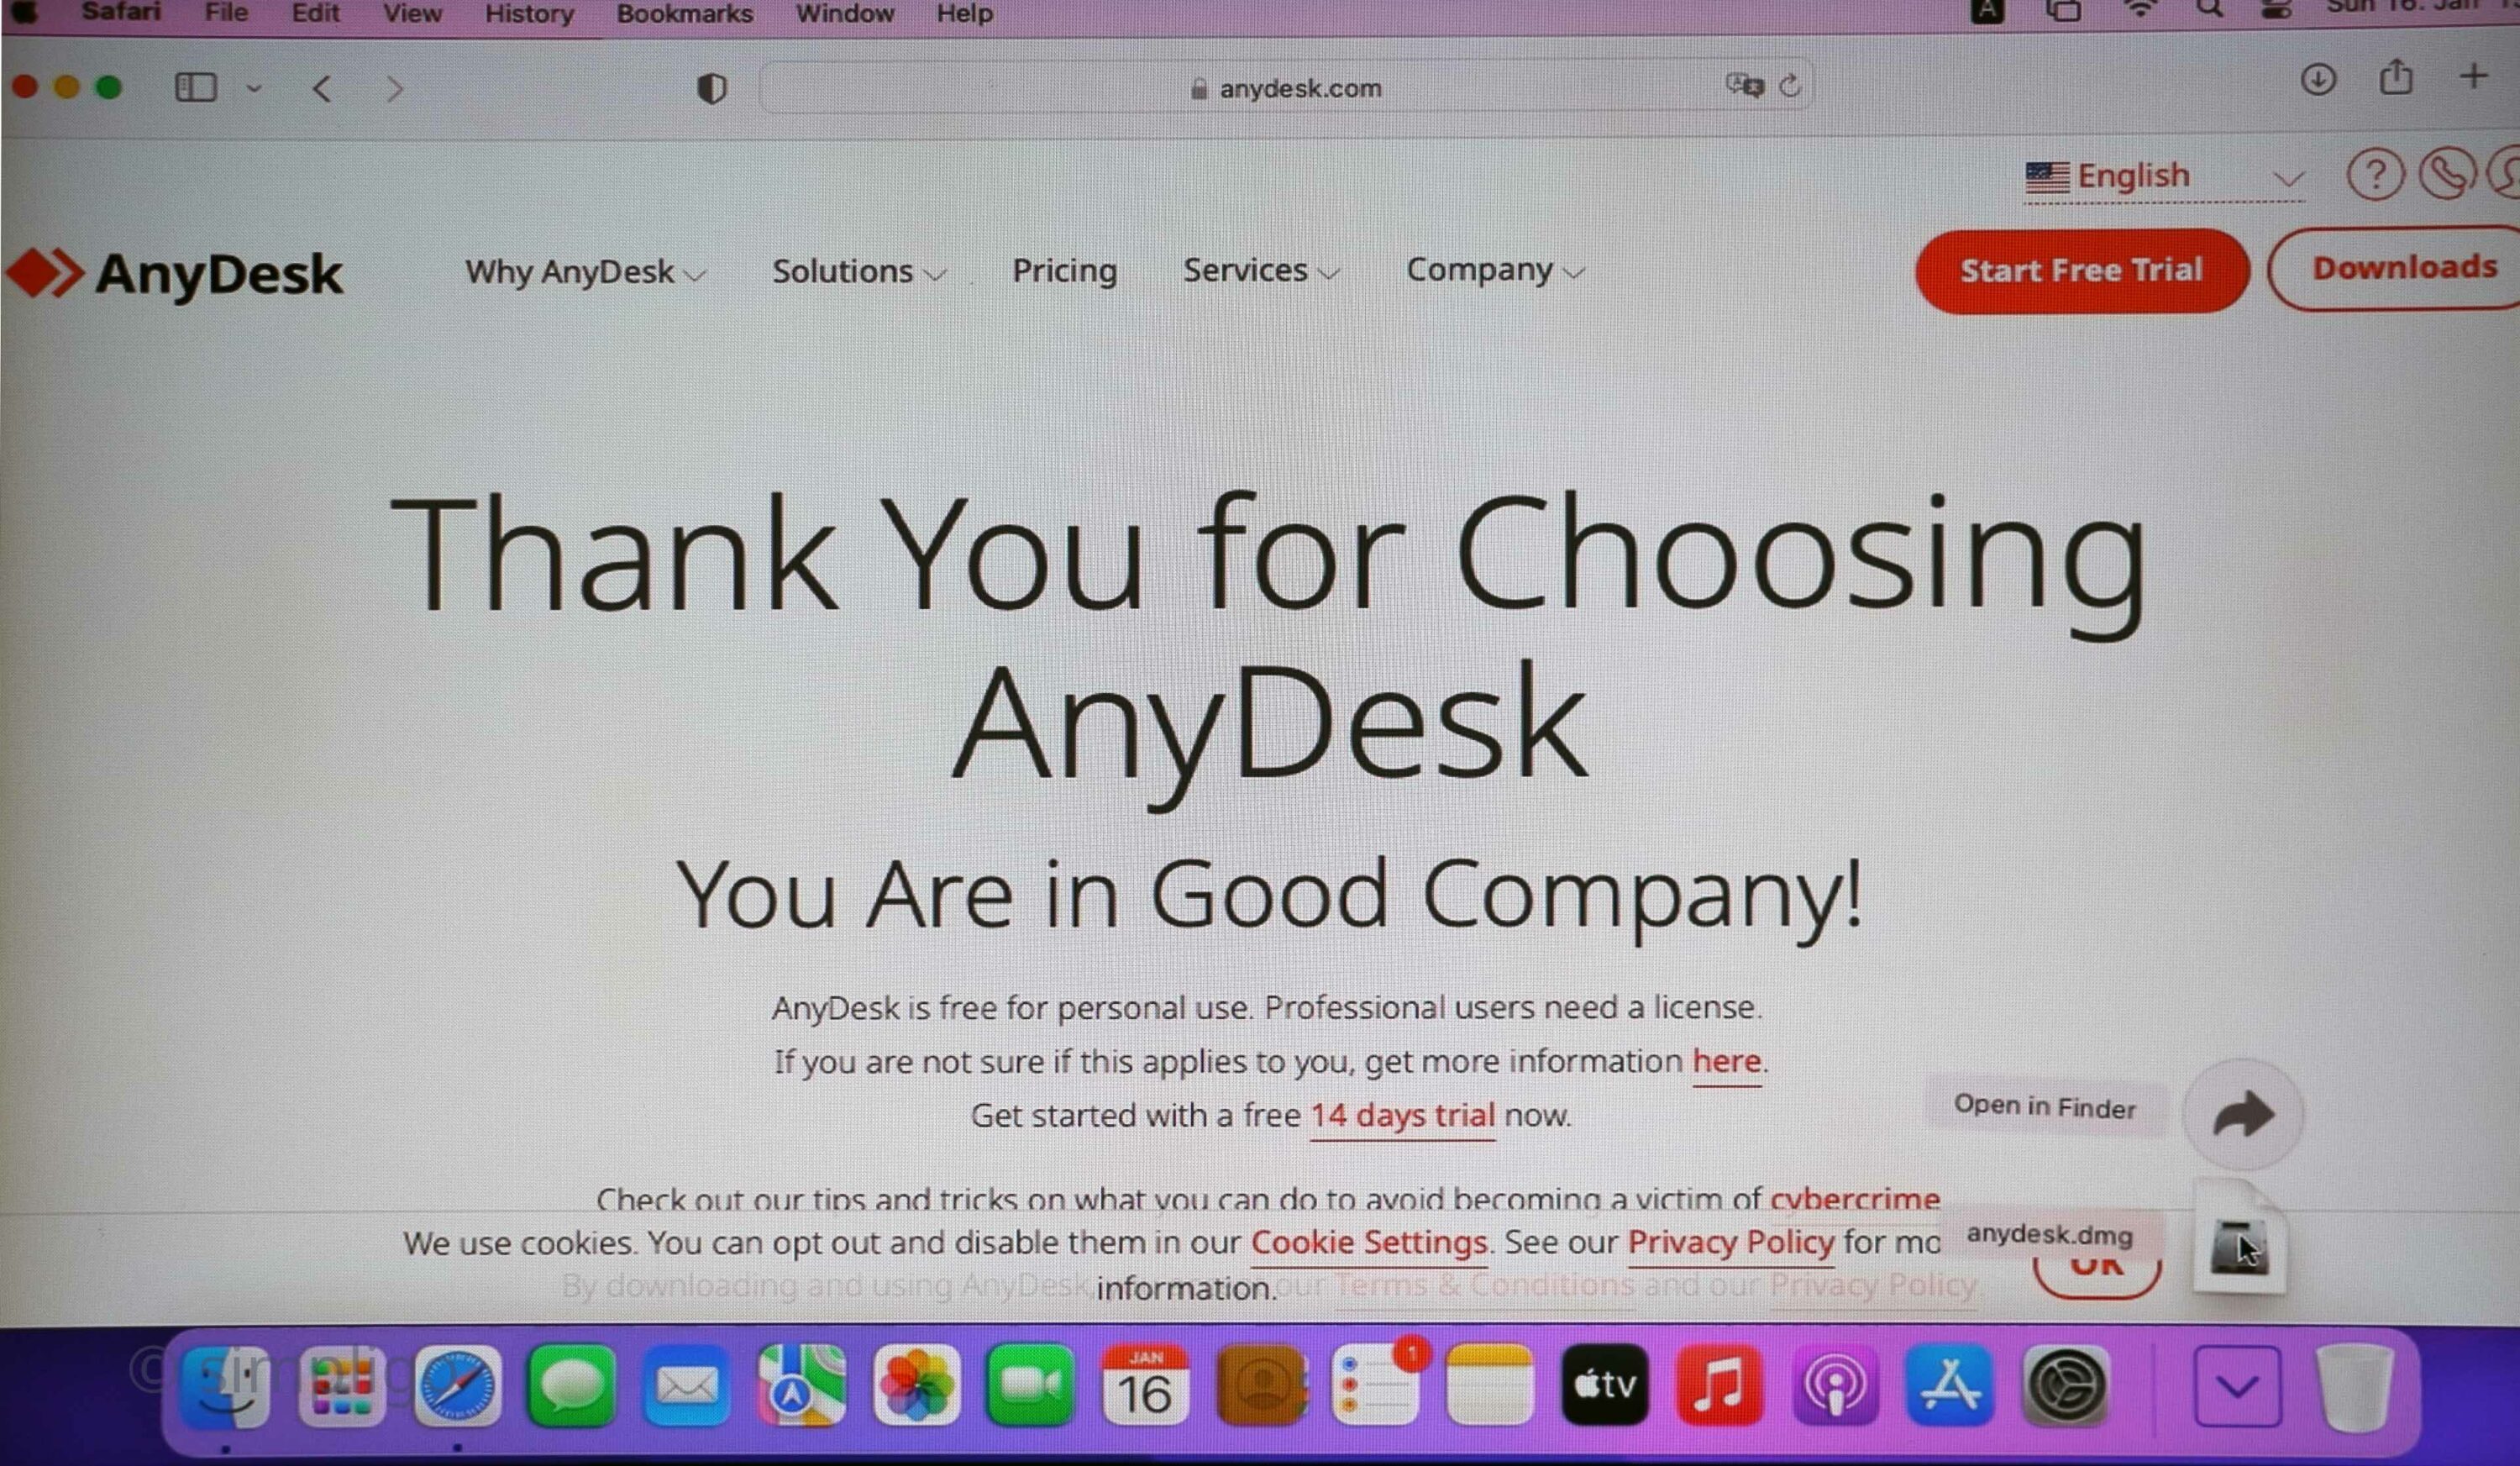
open the file when download finishes 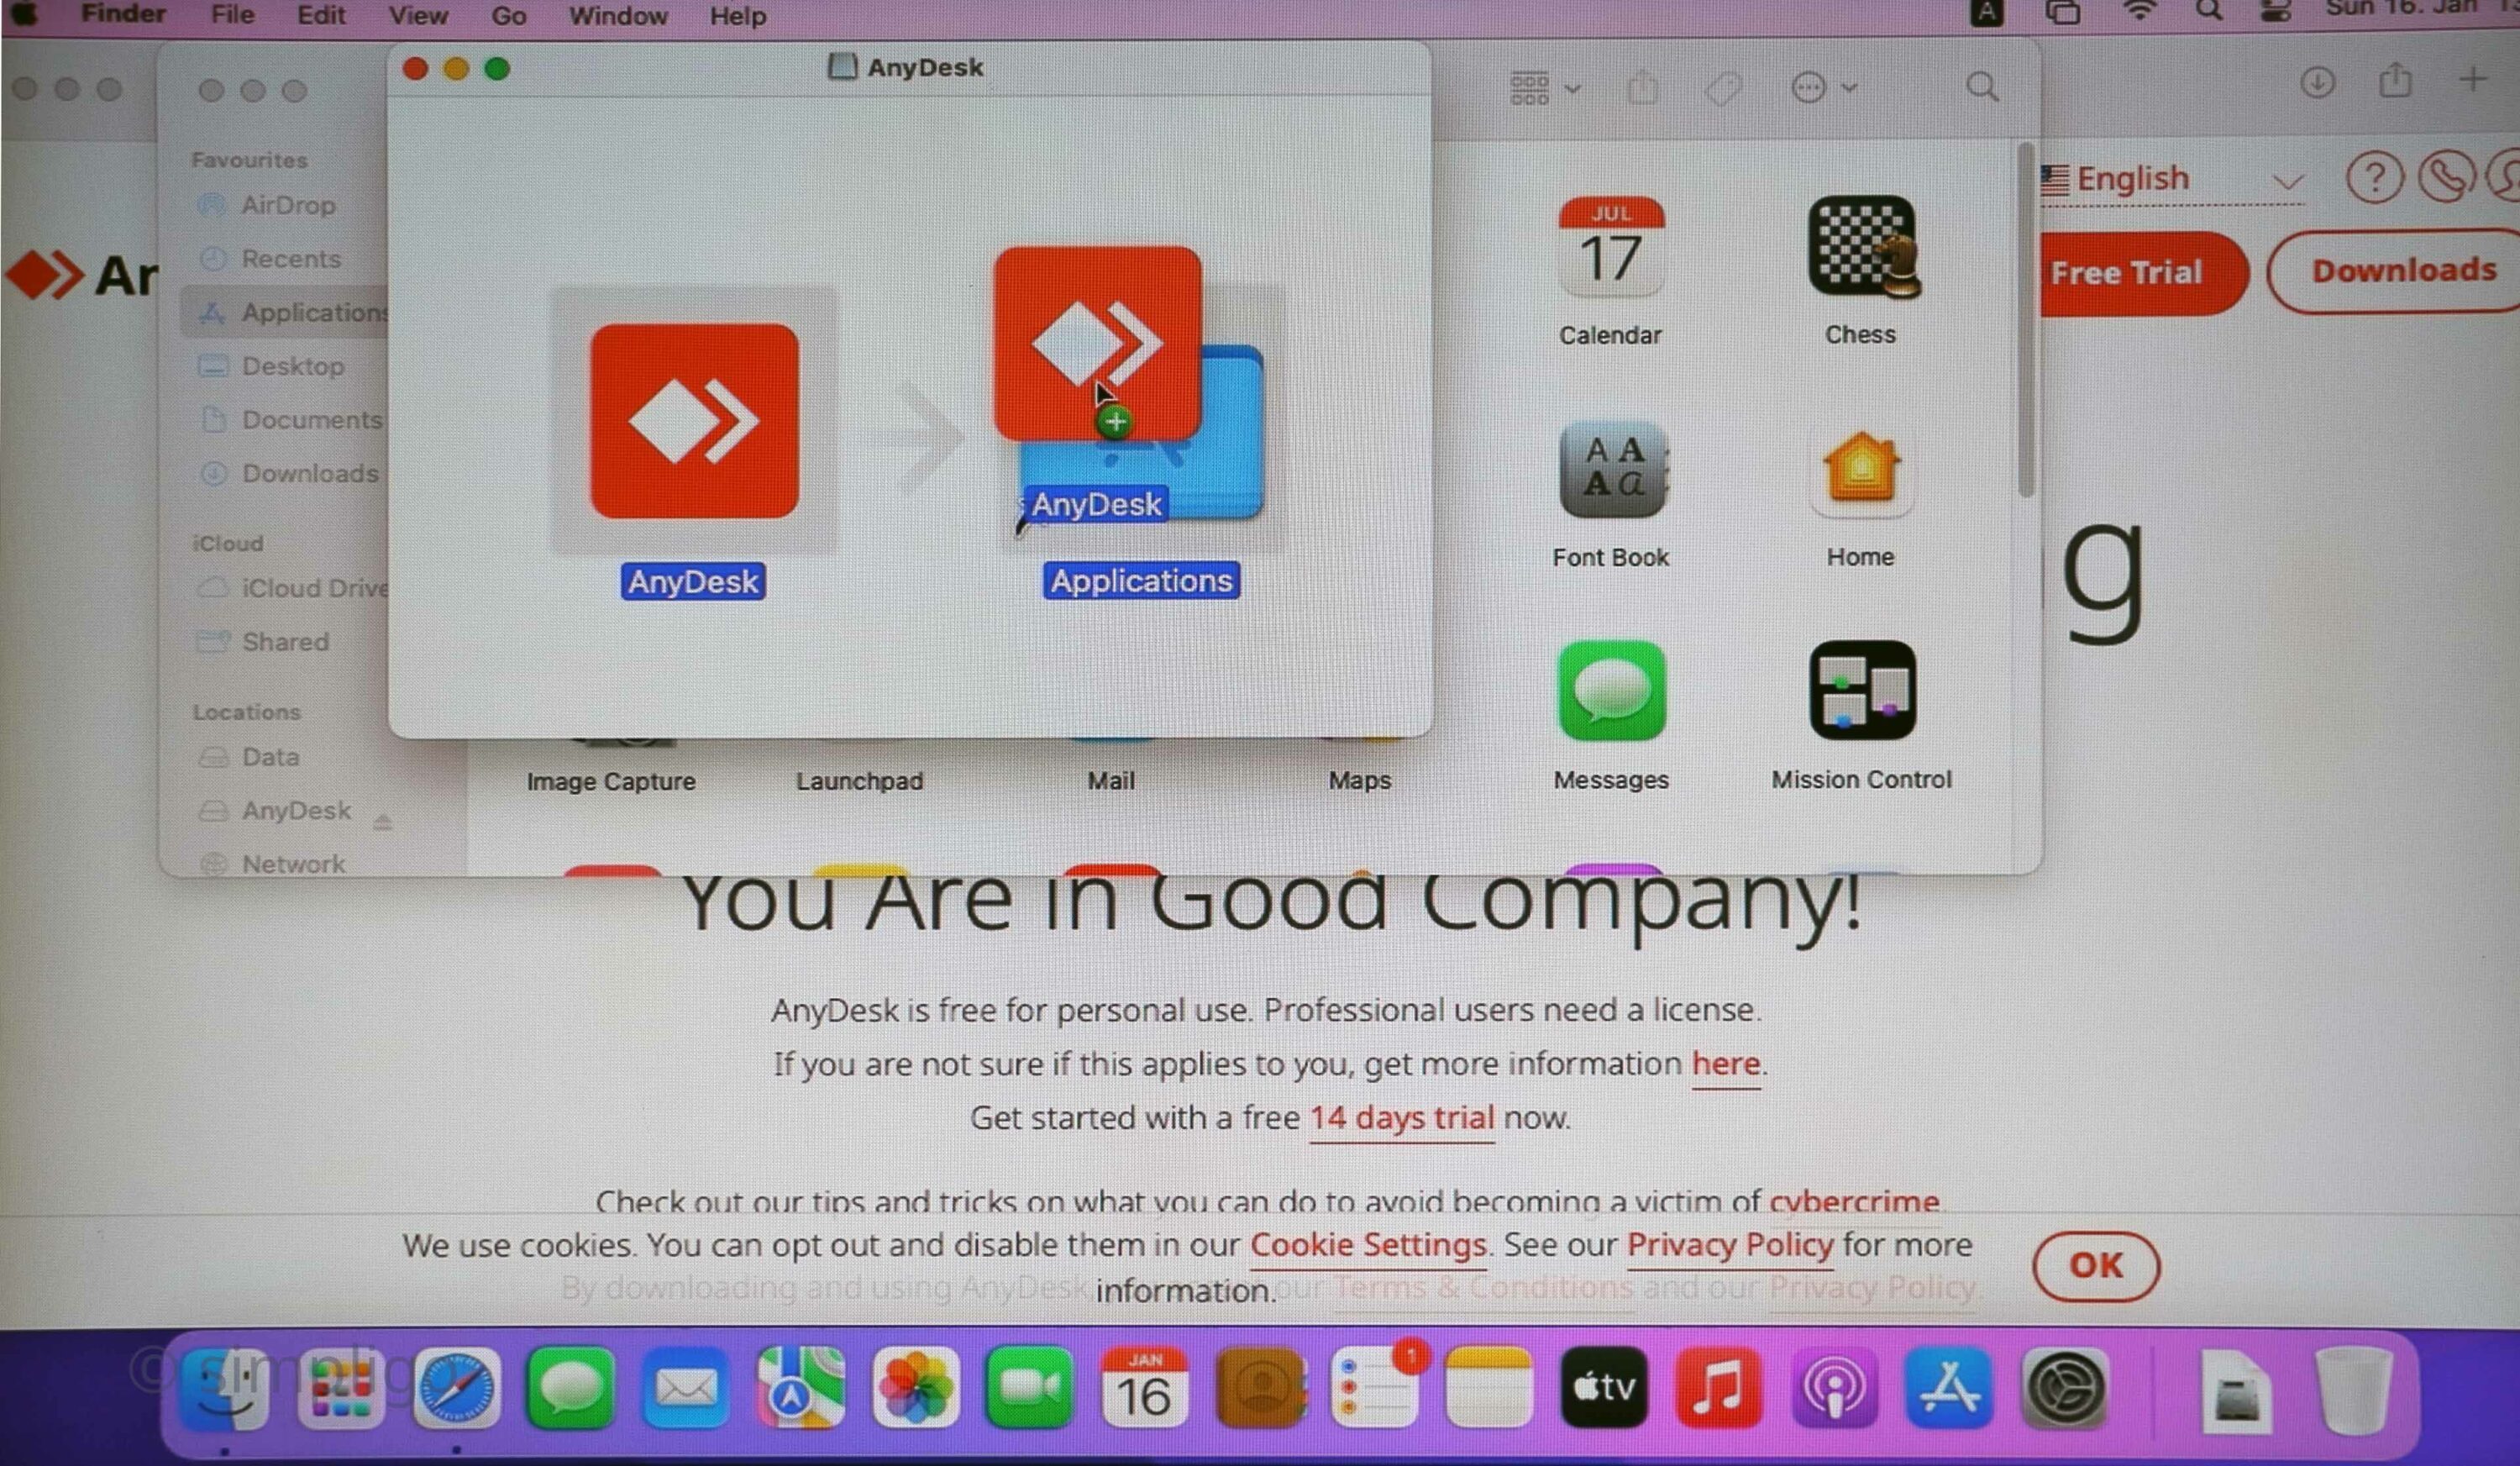
installation is done by drag’n’drop 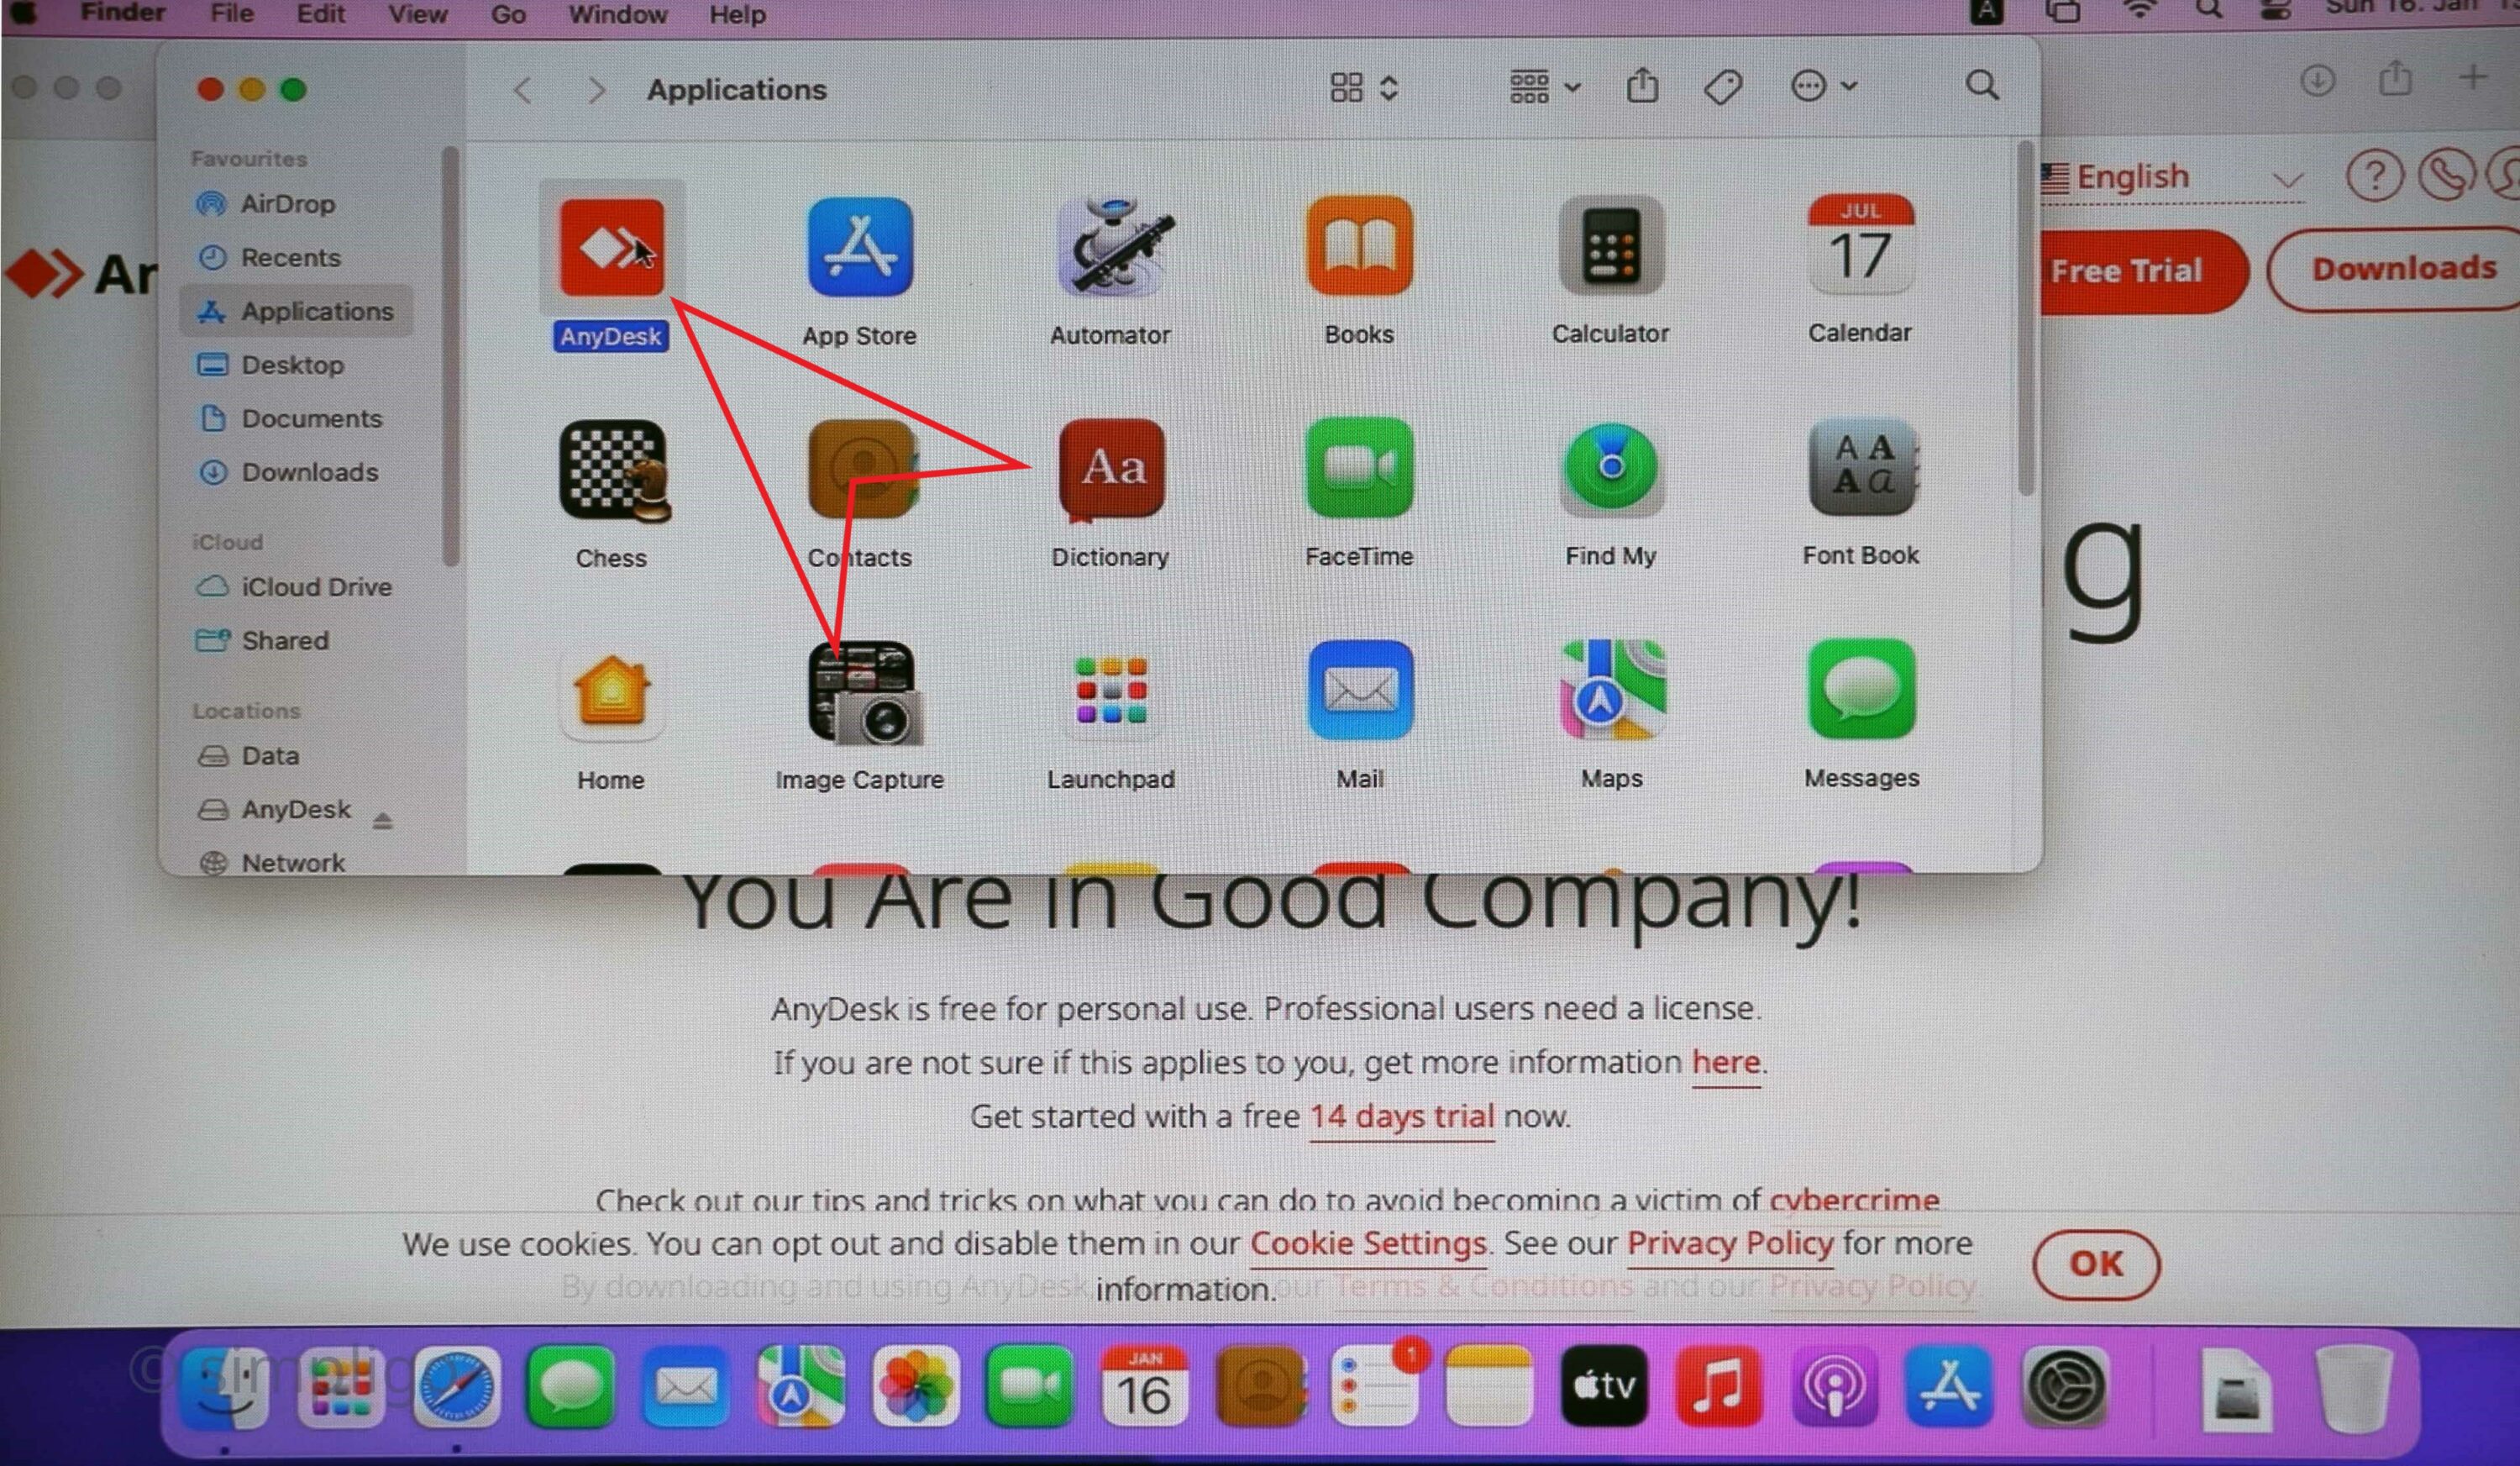
start AnyDesk 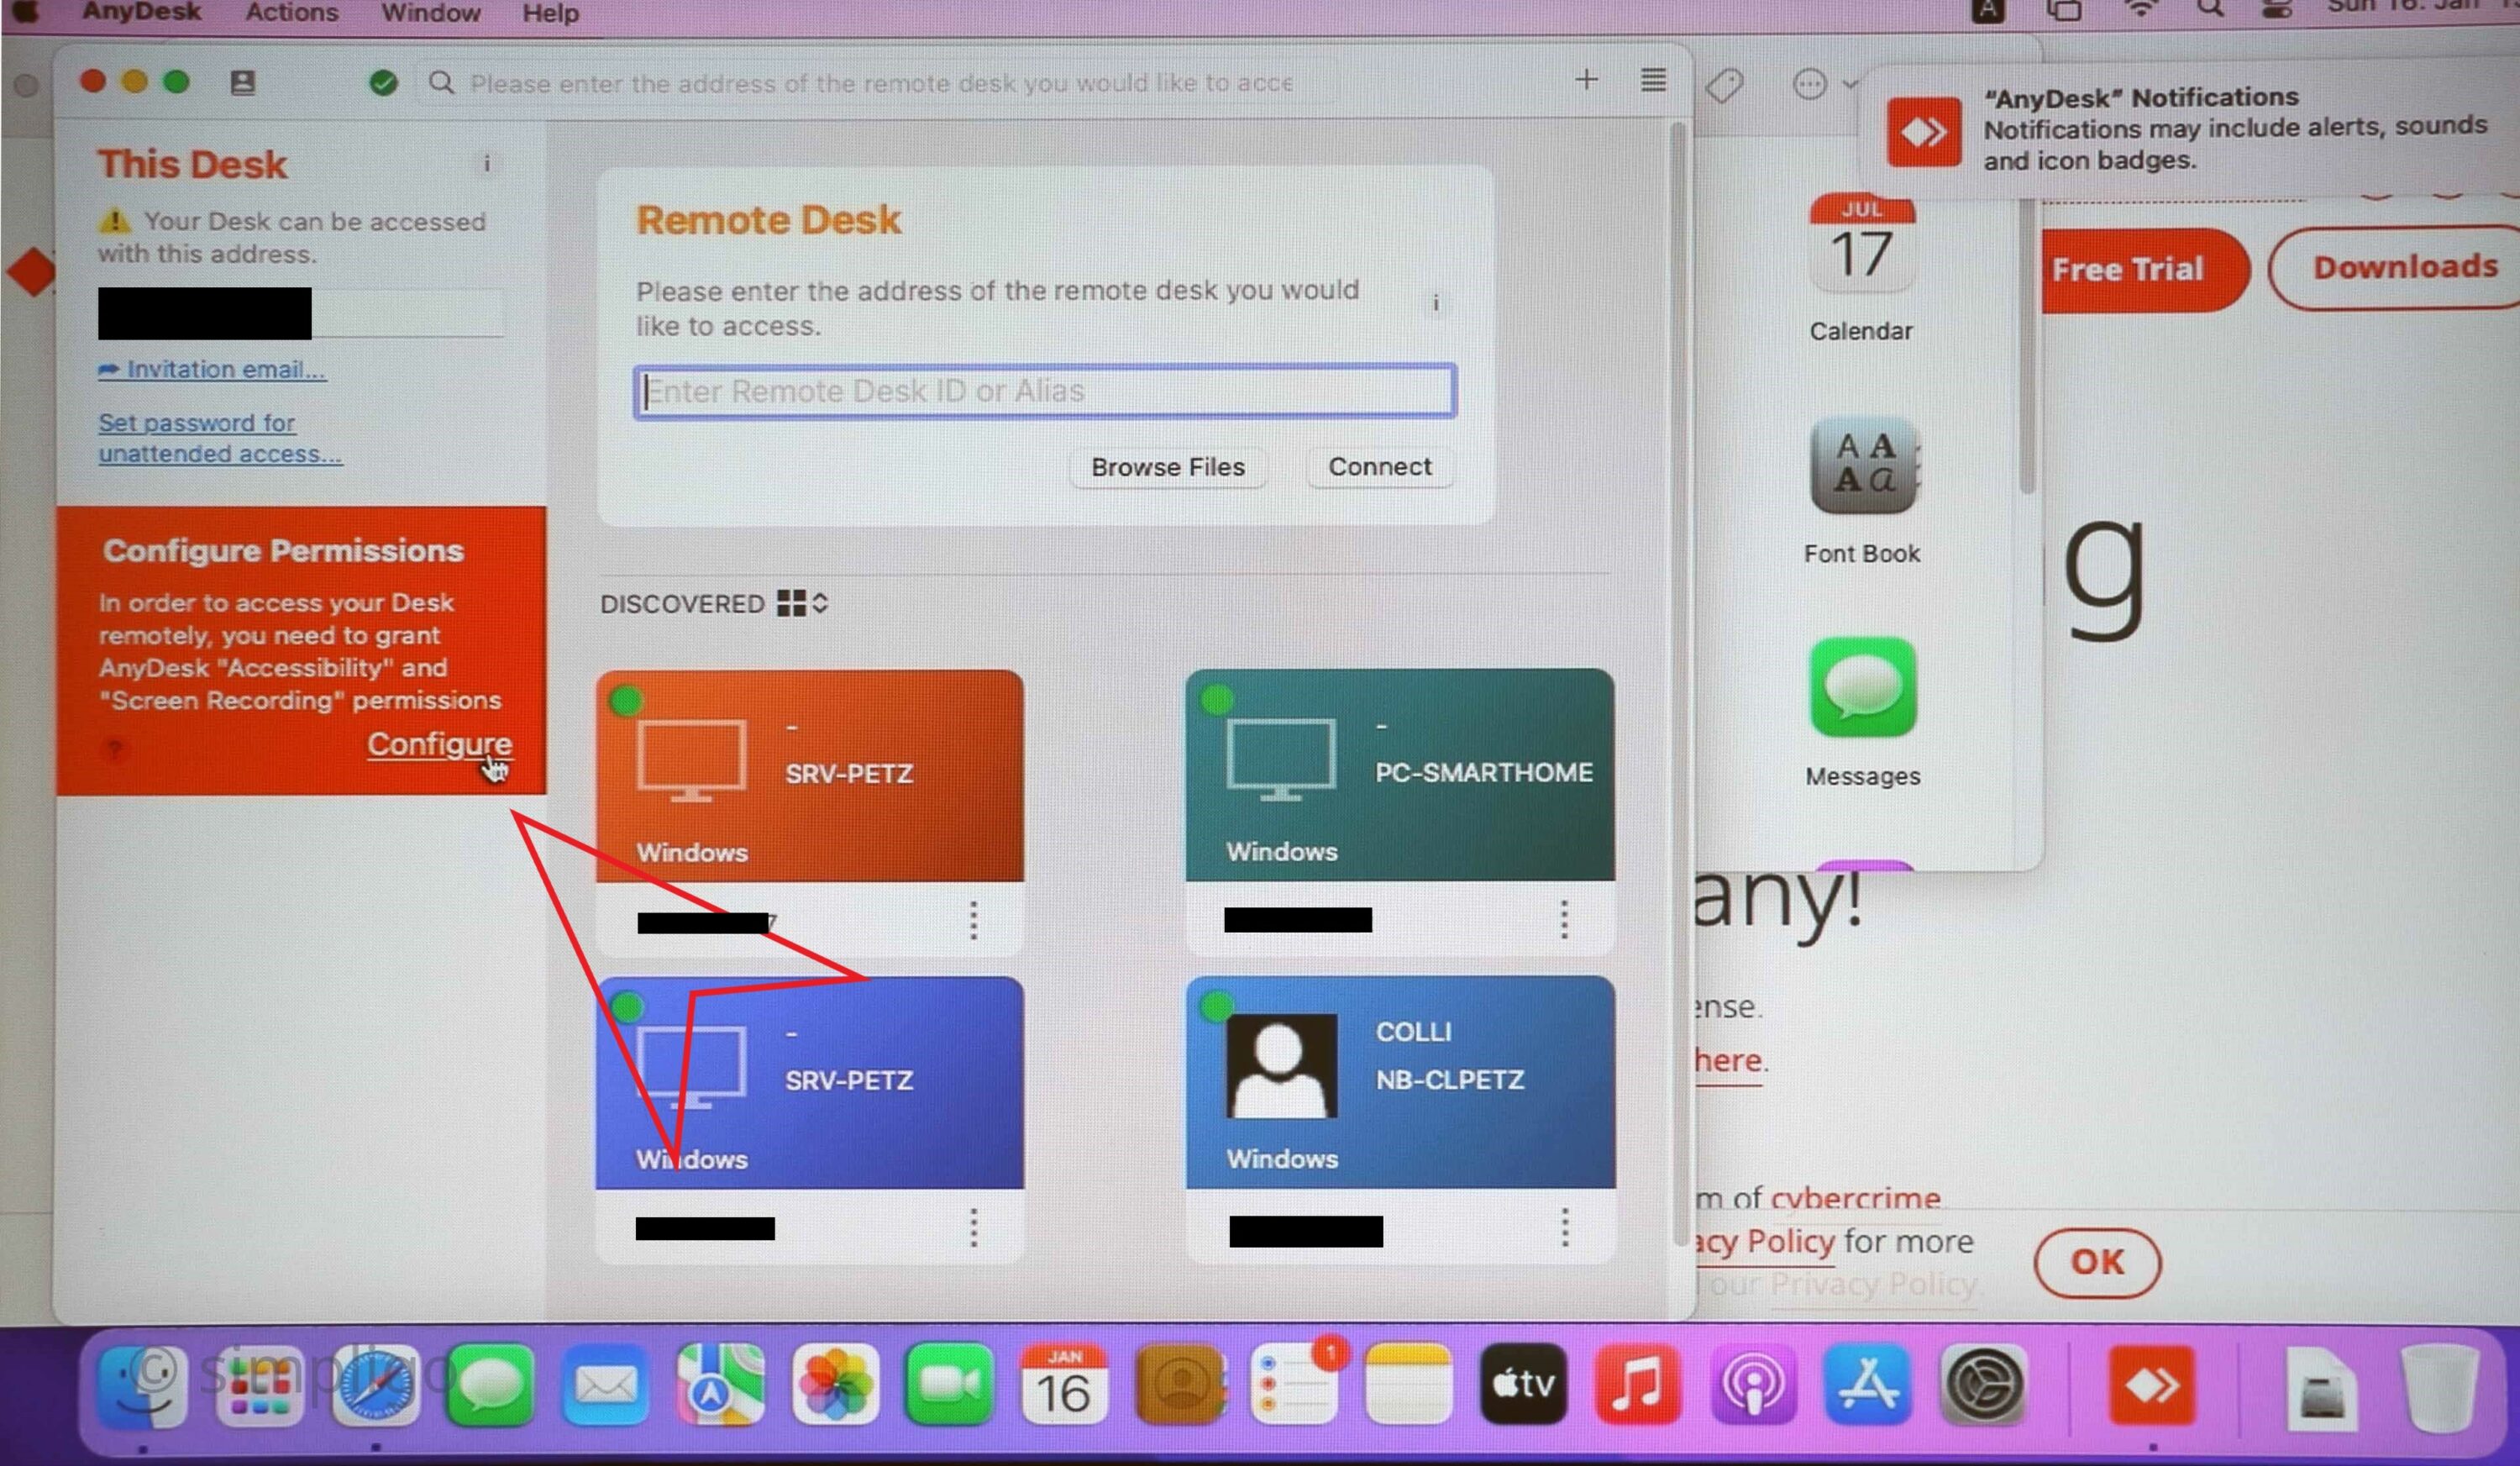
let’s configure the necessary permissions first 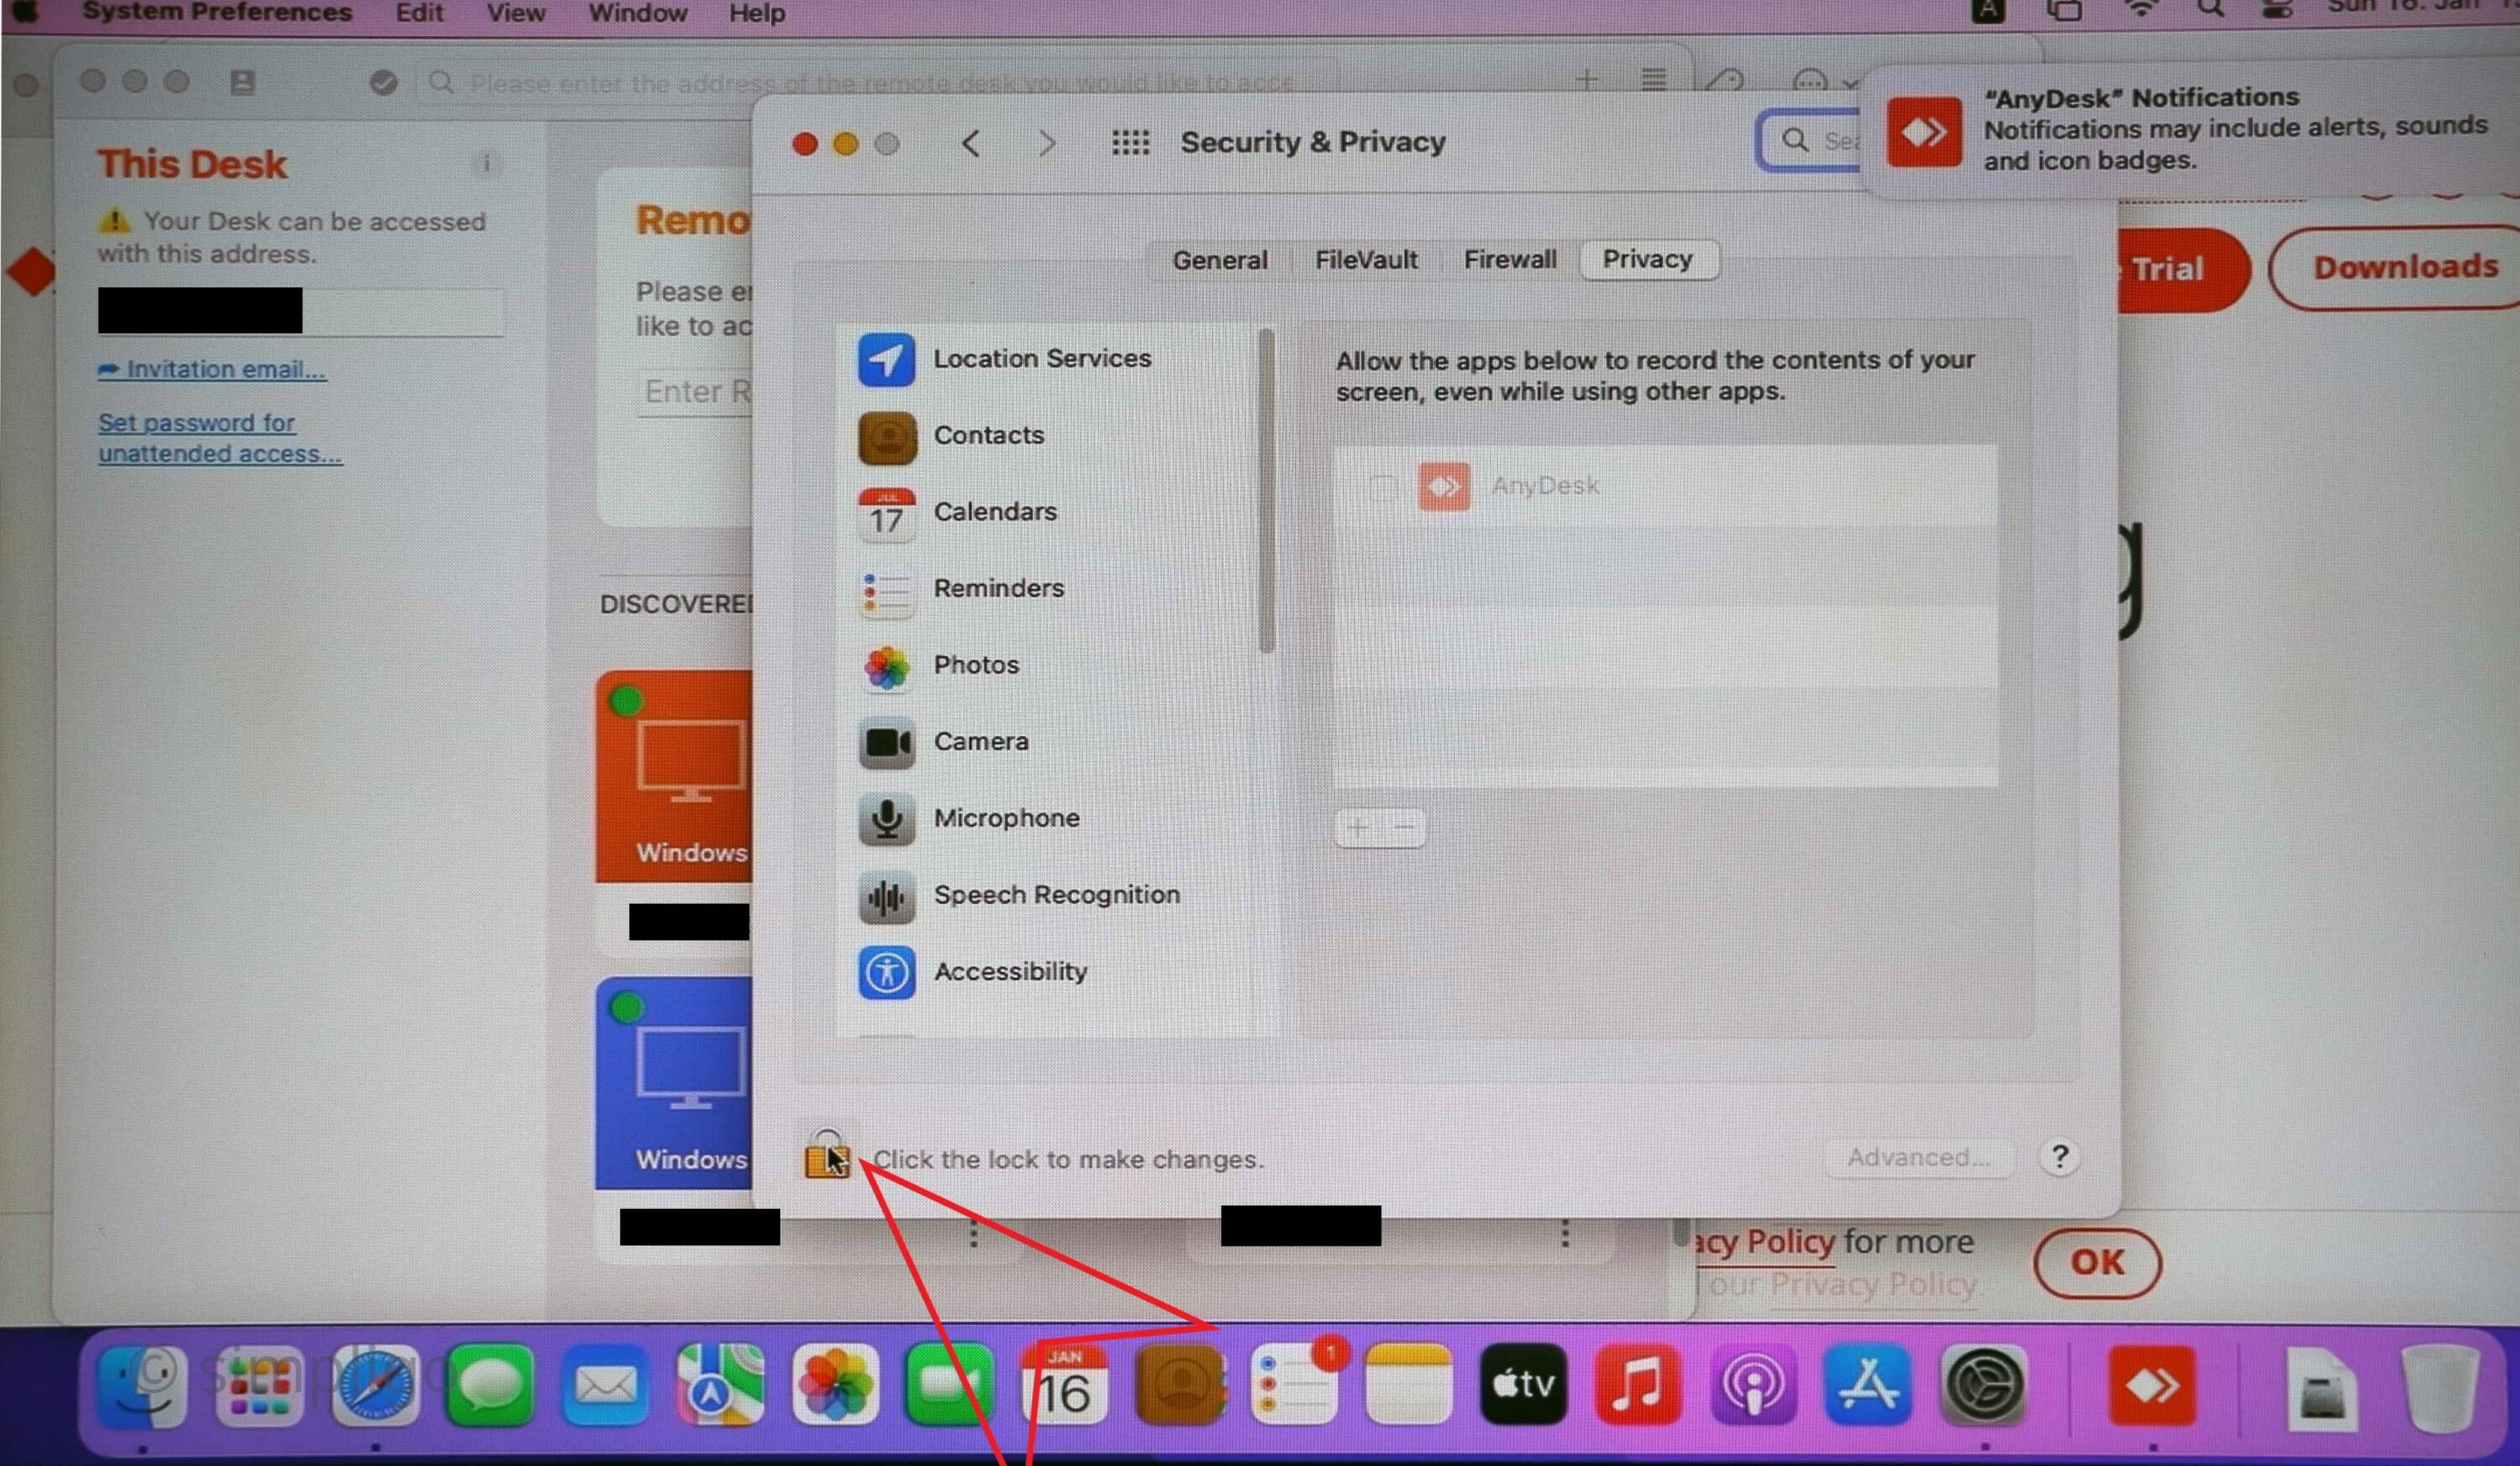
unlock the security and privacy settings 
enable screen recording 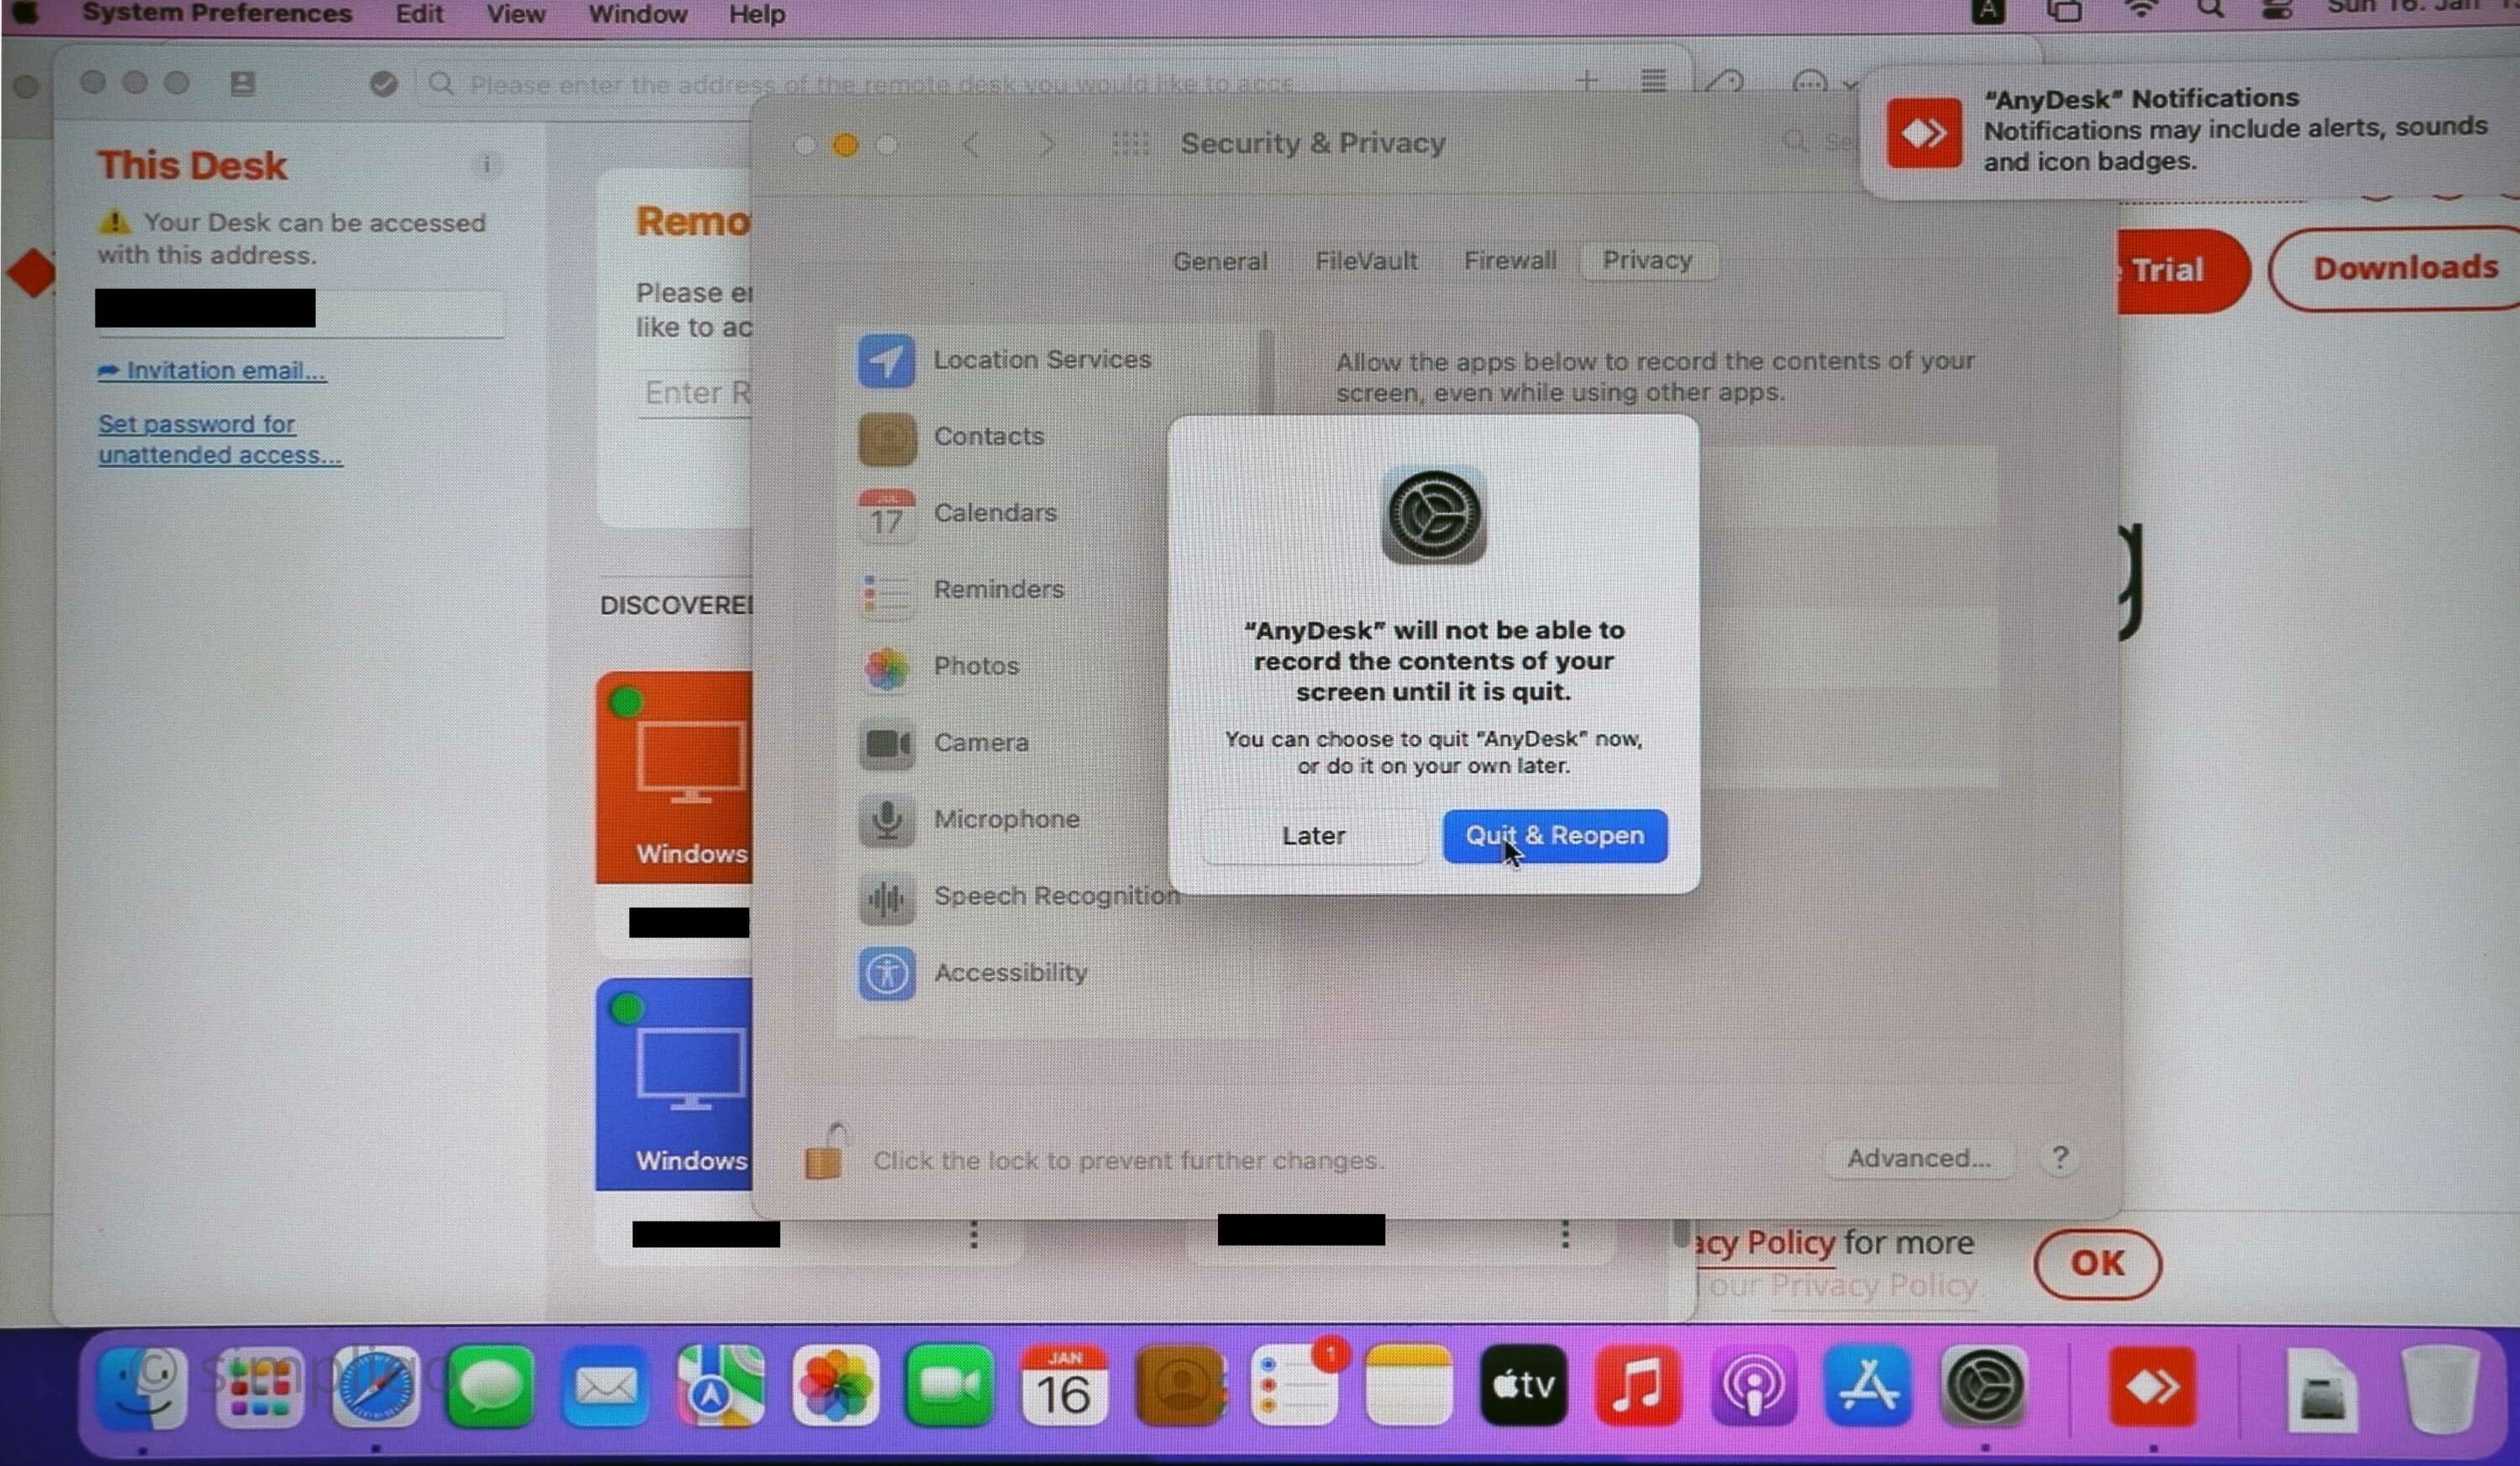
AnyDesk needs to be closed 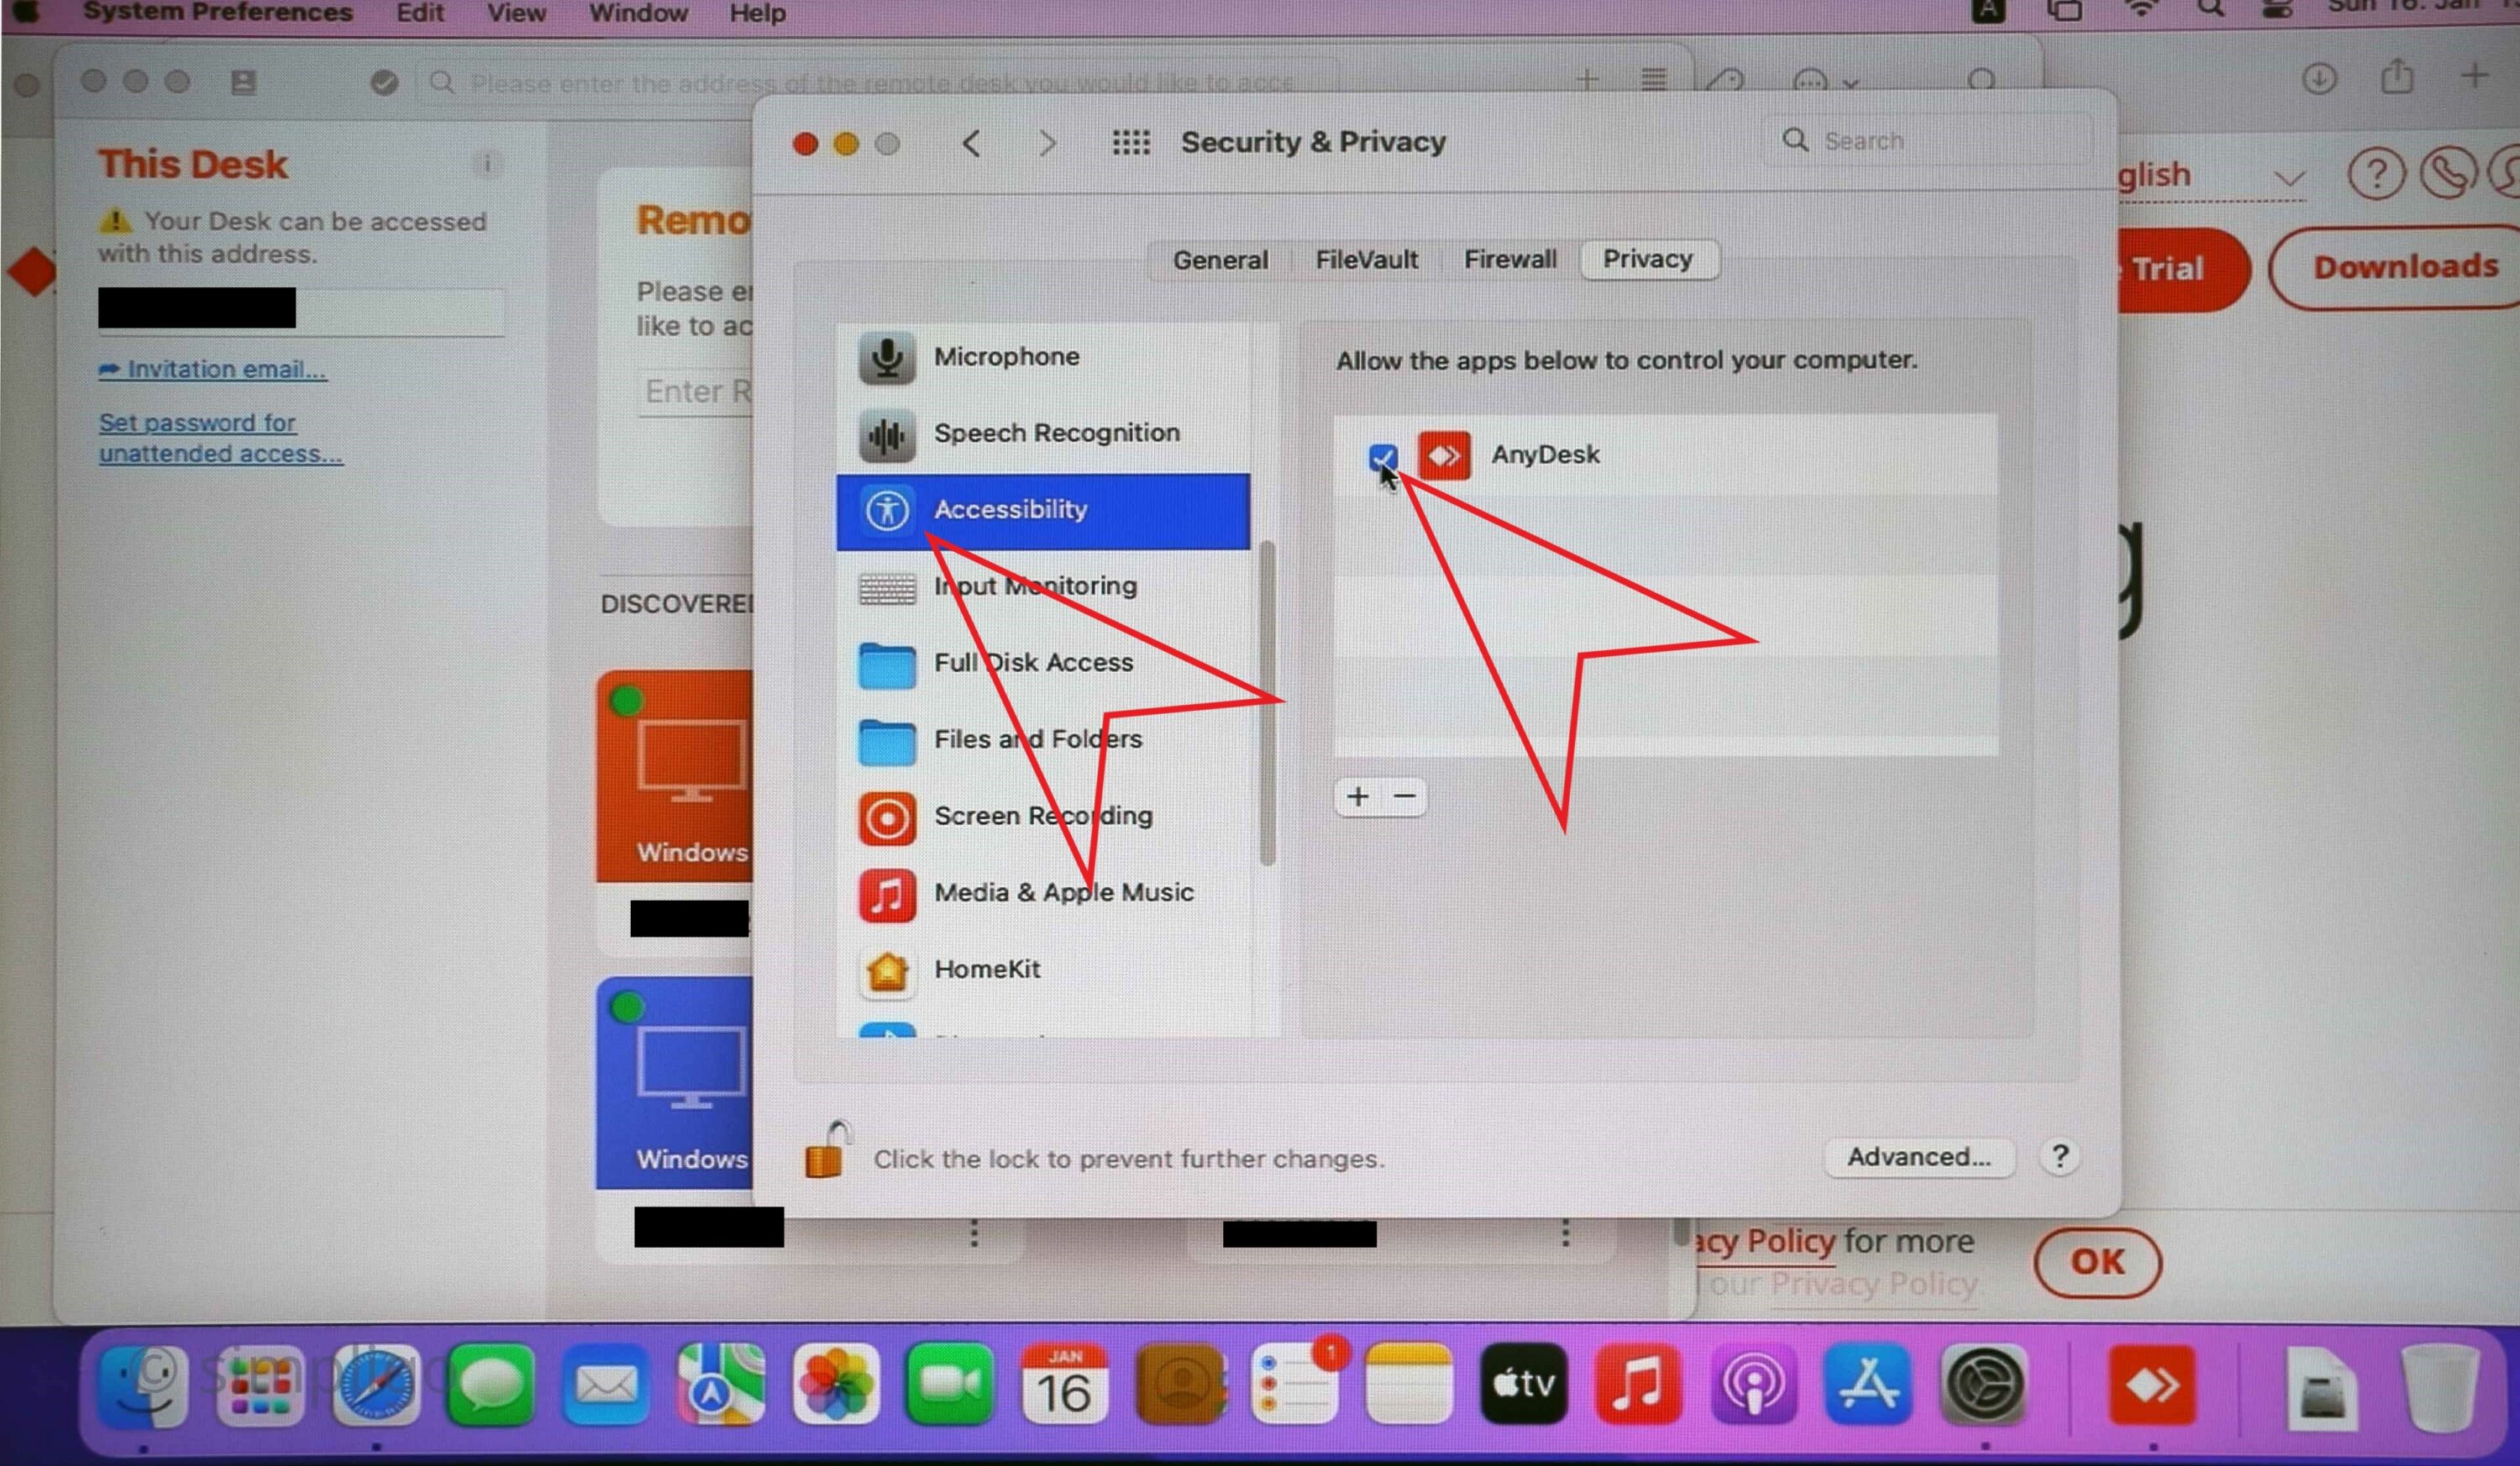
we’ll need remote control permissions as well 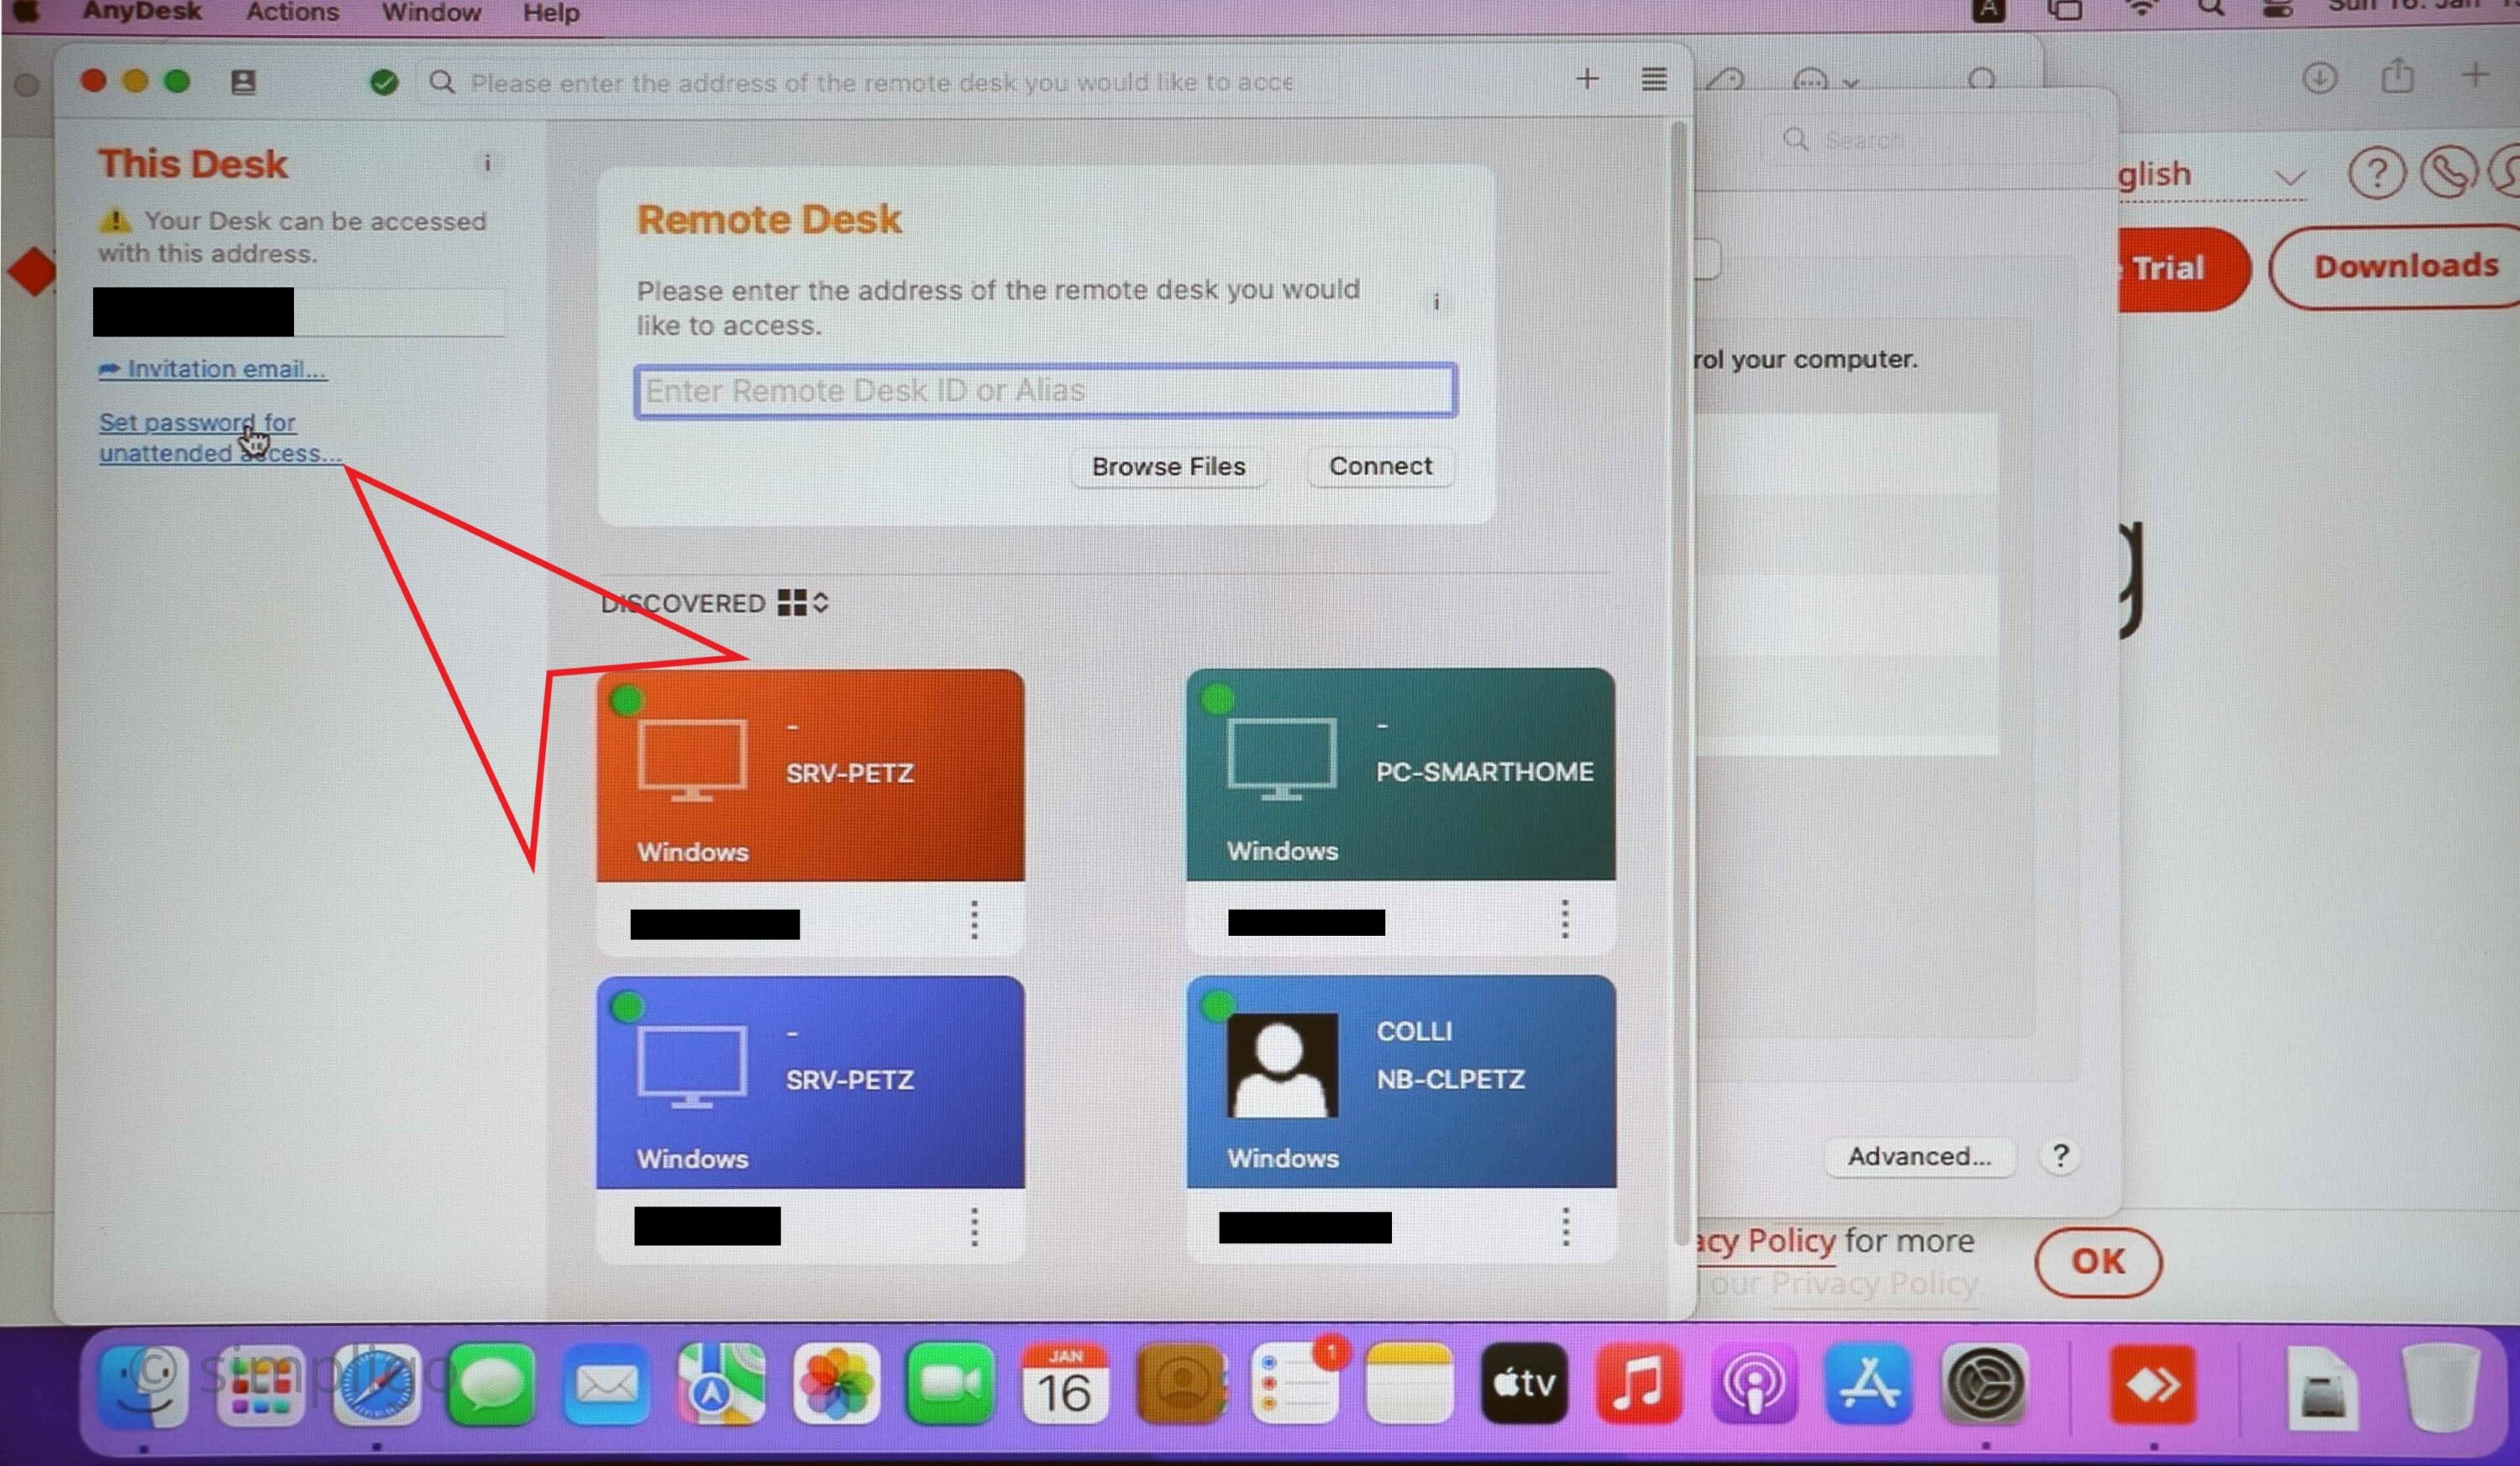
now set up the password for unattended access 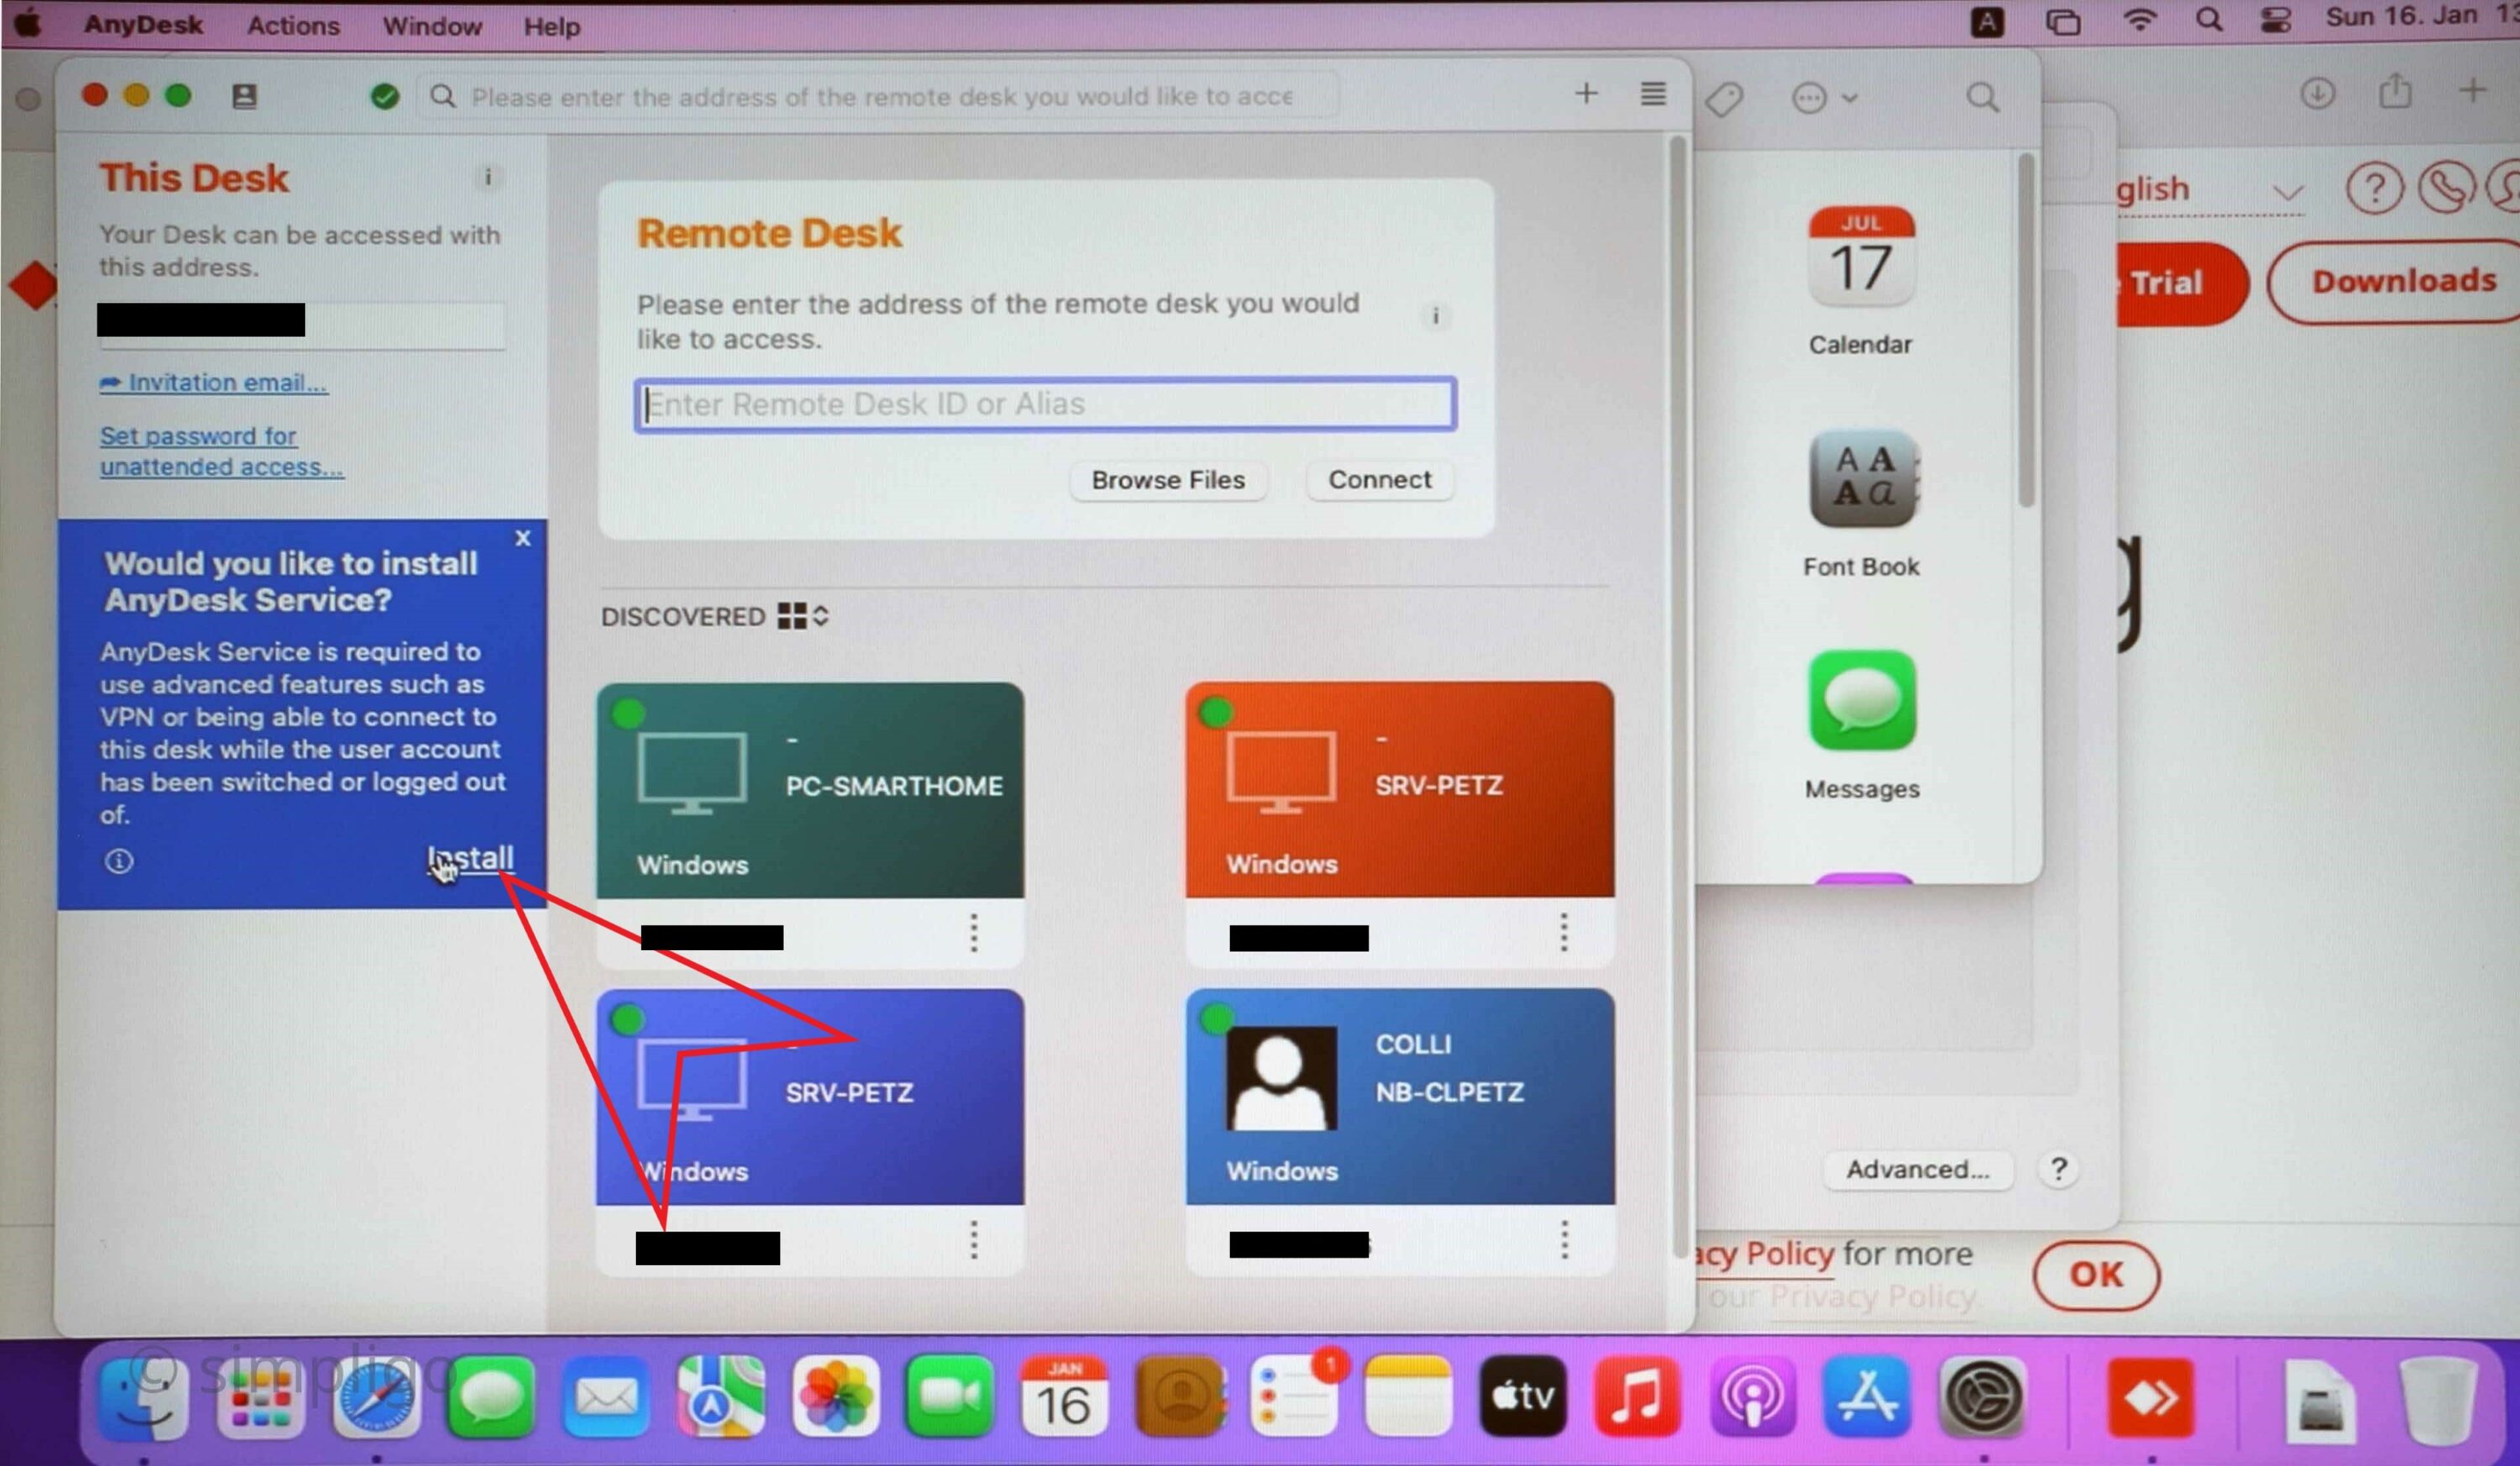
and finally install AnyDesk as a service to run already at login screen


Congratulations – you just managed to reinstall macOS.